olmOCR-2-7B-1025-FP8 is AllenAI’s OCR-specialized VLM distilled from Qwen2.5-VL-7B-Instruct, fine-tuned on the olmOCR-mix-1025 dataset and further improved with GRPO RL to handle math formulas, tables, long/tiny text, and noisy scans. The FP8 quantization (via llmcompressor) slashes memory use while keeping accuracy: with the olmOCR toolkit (v0.4.0) it reaches ~82.4 ± 1.1 overall on olmOCR-Bench, and is designed for high-throughput, VLLM-based document pipelines. Inputs are single page images (longest side ≈ 1288 px) with a YAML prompt header the toolkit builds automatically. License: Apache-2.0.
olmOCR-Bench Scores
This model scores the following scores on olmOCR-bench when used with the olmOCR toolkit toolkit which automatically renders, rotates, and retries pages as needed.
| Model | ArXiv | Old Scans Math | Tables | Old Scans | Headers and Footers | Multi column | Long tiny text | Base | Overall |
|---|
| olmOCR pipeline v0.4.0 with olmOCR-2-7B-1025 | 82.9 | 82.1 | 84.3 | 48.3 | 95.7 | 84.3 | 81.4 | 99.7 | 82.3 ± 1.1 |
| olmOCR pipeline v0.4.0 with olmOCR-2-7B-1025-FP8 | 83.0 | 82.3 | 84.9 | 47.7 | 96.1 | 83.7 | 81.9 | 99.7 | 82.4 ± 1.1 |
GPU Configuration (Practical, FP8 Weights)
| Setup | Precision / Quant | Min VRAM (approx) | Typical Batch (pages) | When to use | Notes |
|---|
| CPU only | FP8 weights, BF16 compute (emulated) | — (RAM ≥ 16–32 GB) | 1 | Dev/testing only | Very slow; good for functional checks. |
| Single GPU (8 GB) | FP8 + BF16 | 8 GB | 1 | Entry-level cards (RTX 4060 8 GB) | Keep max_new_tokens small; avoid large beams. |
| Single GPU (12 GB) | FP8 + BF16 | 10–12 GB | 1–2 | 3060 12 GB / 4070 / L4 | Comfortable headroom; enables light batching. |
| Single GPU (16–24 GB) | FP8 + BF16 | 14–16 GB+ | 2–6 | 3090/4090, L40S, A5000 | Good throughput with paged KV cache on. |
| Datacenter (A100 40 GB) | FP8 + BF16 | 25–30 GB | 8–16 | Production OCR microservice | High batch, stable latency. |
| Datacenter (A100/H100 80 GB) | FP8 + BF16 | 40–50 GB | 16–32 | Large-scale pipelines | Multi-worker or multi-tenant serving. |
Recommended Flags / Tips
- VLLM: enable paged KV cache; set
--max-num-seqs to match target batch; pin --trust-remote-code; BF16 compute if available.
- Transformers: use
torch.bfloat16, attn_implementation="flash_attention_2" (if supported), gradient off (model.eval()), and torch.inference_mode().
- Pre-/post-processing: keep longest page side at 1288 px; prefer the olmOCR toolkit to auto-build the YAML prompt and retries/rotation.
- Throughput scaling: batch by pages, not PDFs; spin multiple workers for I/O-bound pipelines.
Resources
Link: https://huggingface.co/allenai/olmOCR-2-7B-1025-FP8
Step-by-Step Process to Install & Run OlmOCR-2-7B-1025-FP8 Locally
For the purpose of this tutorial, we will use a GPU-powered Virtual Machine offered by NodeShift; however, you can replicate the same steps with any other cloud provider of your choice. NodeShift provides the most affordable Virtual Machines at a scale that meets GDPR, SOC2, and ISO27001 requirements.
Step 1: Sign Up and Set Up a NodeShift Cloud Account
Visit the NodeShift Platform and create an account. Once you’ve signed up, log into your account.
Follow the account setup process and provide the necessary details and information.

Step 2: Create a GPU Node (Virtual Machine)
GPU Nodes are NodeShift’s GPU Virtual Machines, on-demand resources equipped with diverse GPUs ranging from H200s to A100s. These GPU-powered VMs provide enhanced environmental control, allowing configuration adjustments for GPUs, CPUs, RAM, and Storage based on specific requirements.
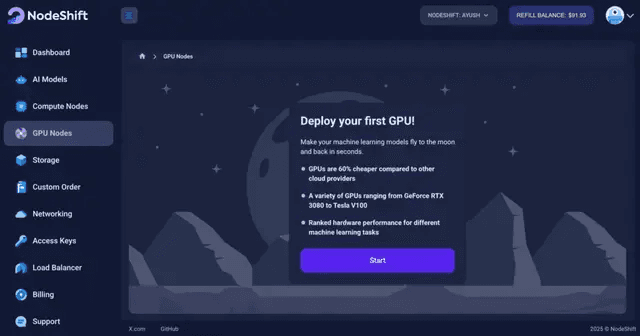
Navigate to the menu on the left side. Select the GPU Nodes option, create a GPU Node in the Dashboard, click the Create GPU Node button, and create your first Virtual Machine deploy
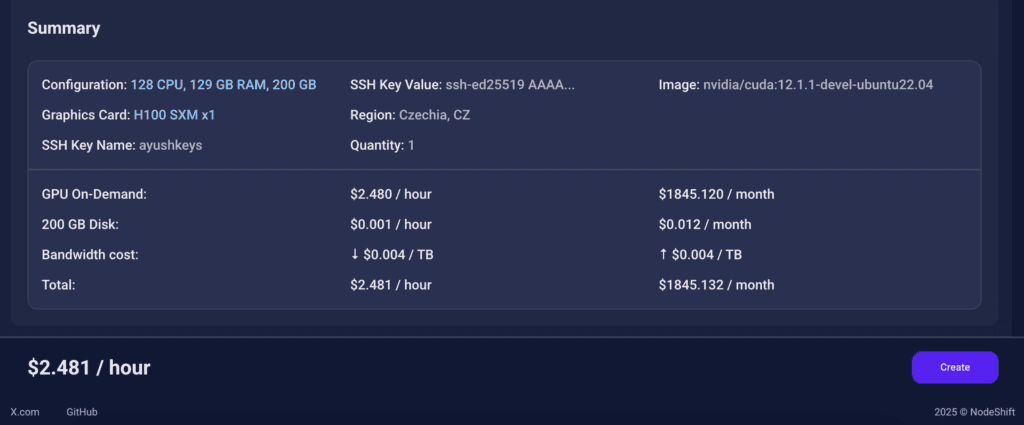
Step 3: Select a Model, Region, and Storage
In the “GPU Nodes” tab, select a GPU Model and Storage according to your needs and the geographical region where you want to launch your model.
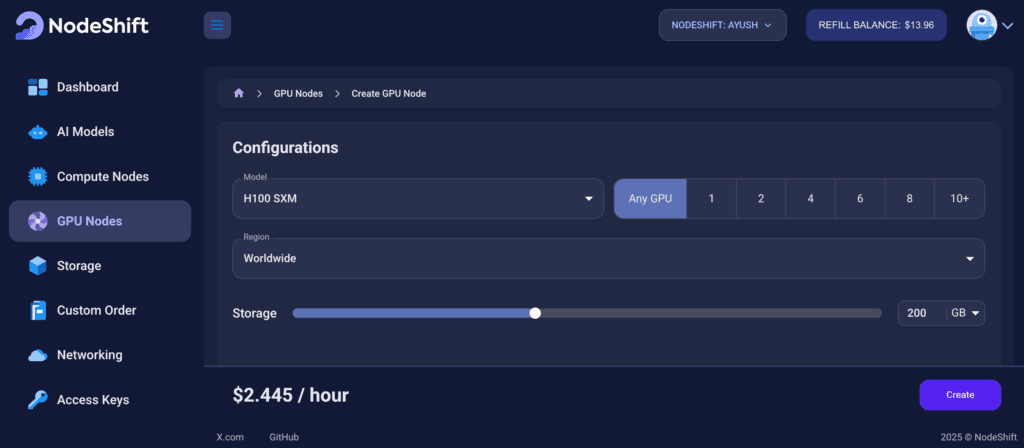
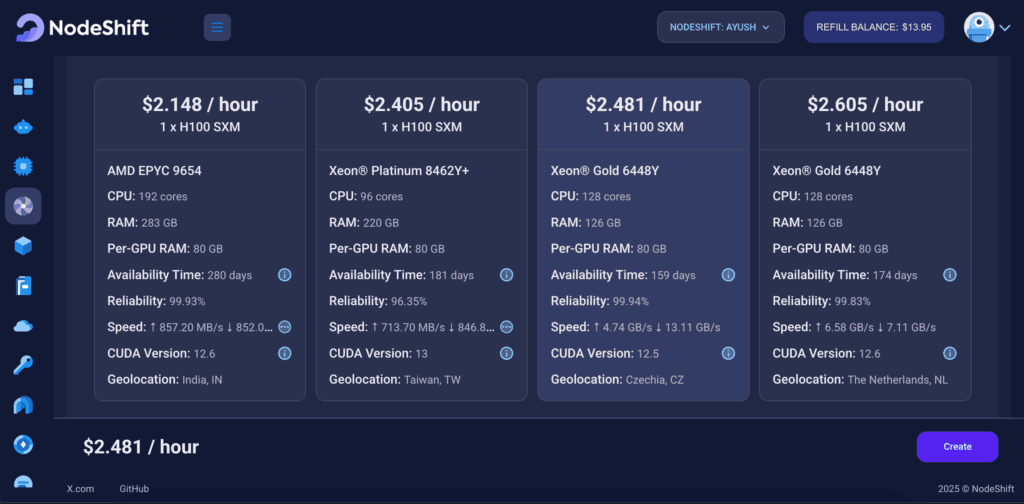
We will use 1 x H100 SXM GPU for this tutorial to achieve the fastest performance. However, you can choose a more affordable GPU with less VRAM if that better suits your requirements.
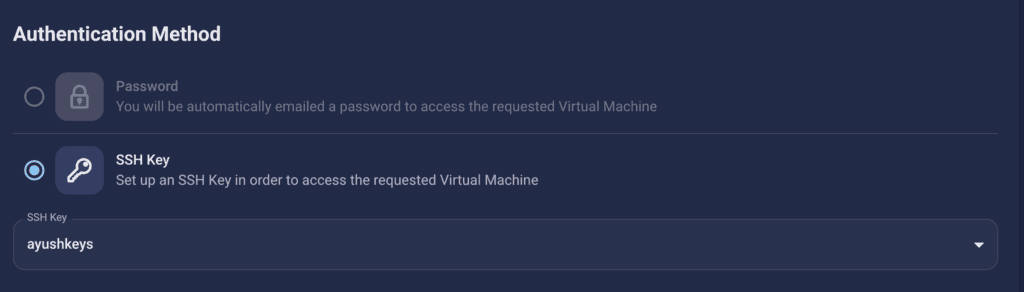
Step 4: Select Authentication Method
There are two authentication methods available: Password and SSH Key. SSH keys are a more secure option. To create them, please refer to our official documentation.
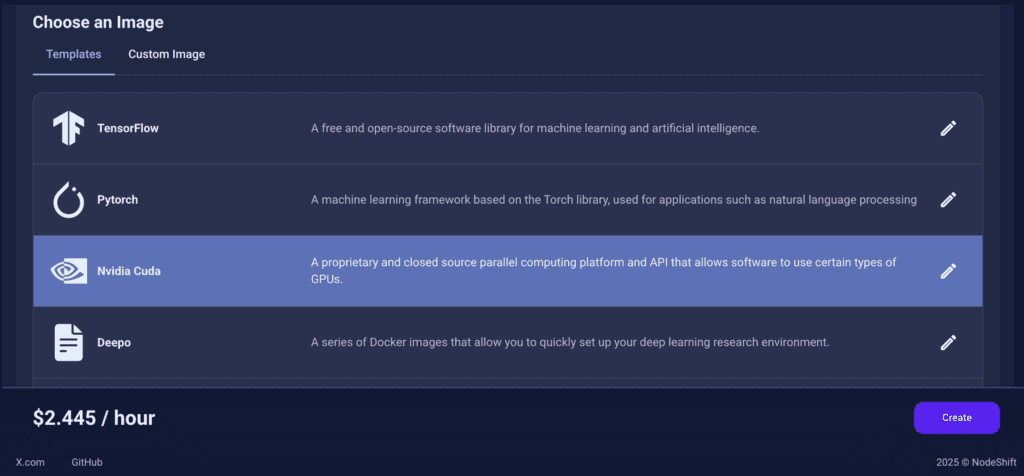
Step 5: Choose an Image
In our previous blogs, we used pre-built images from the Templates tab when creating a Virtual Machine. However, for running OlmOCR-2-7B-1025-FP8, we need a more customized environment with full CUDA development capabilities. That’s why, in this case, we switched to the Custom Image tab and selected a specific Docker image that meets all runtime and compatibility requirements.
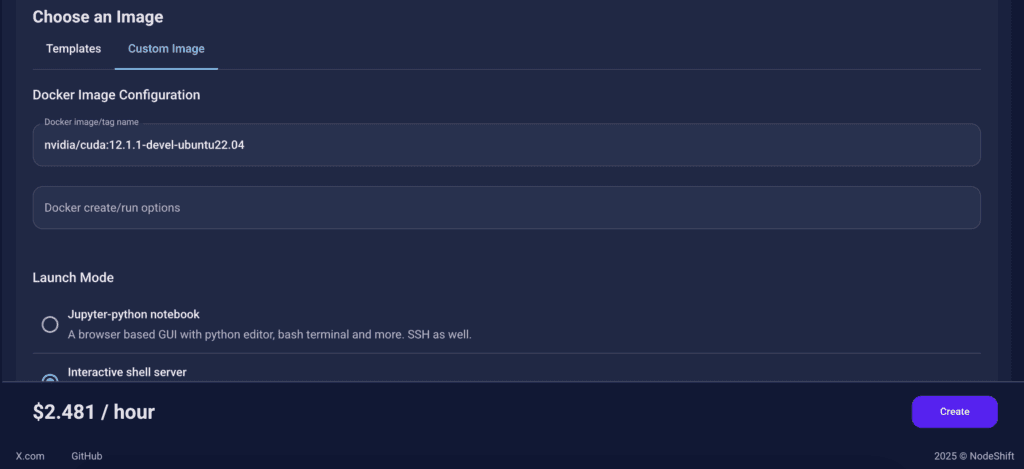
We chose the following image:
nvidia/cuda:12.1.1-devel-ubuntu22.04
This image is essential because it includes:
- Full CUDA toolkit (including
nvcc)
- Proper support for building and running GPU-based models like OlmOCR-2-7B-1025-FP8.
- Compatibility with CUDA 12.1.1 required by certain model operations
Launch Mode
We selected:
Interactive shell server
This gives us SSH access and full control over terminal operations — perfect for installing dependencies, running benchmarks, and launching models like OlmOCR-2-7B-1025-FP8.
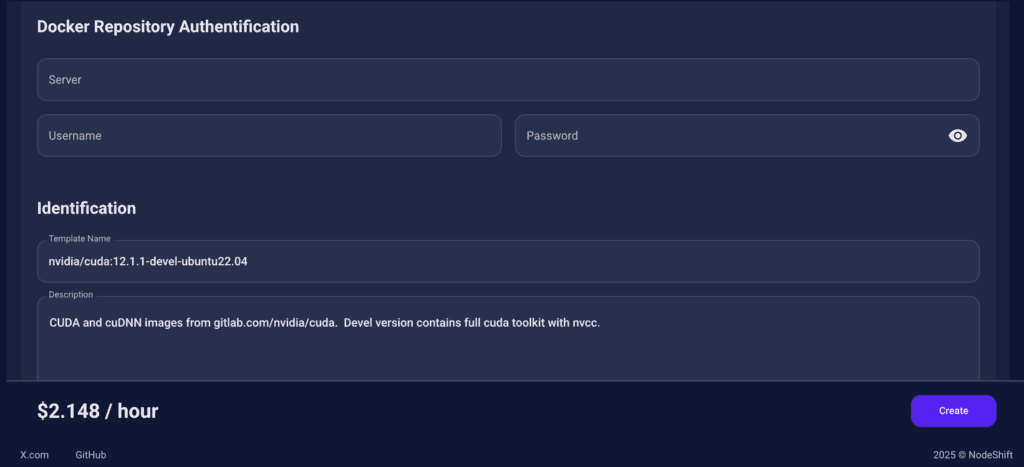
Docker Repository Authentication
We left all fields empty here.
Since the Docker image is publicly available on Docker Hub, no login credentials are required.
Identification
nvidia/cuda:12.1.1-devel-ubuntu22.04
CUDA and cuDNN images from gitlab.com/nvidia/cuda. Devel version contains full cuda toolkit with nvcc.
This setup ensures that the OlmOCR-2-7B-1025-FP8 runs in a GPU-enabled environment with proper CUDA access and high compute performance.
After choosing the image, click the ‘Create’ button, and your Virtual Machine will be deployed.
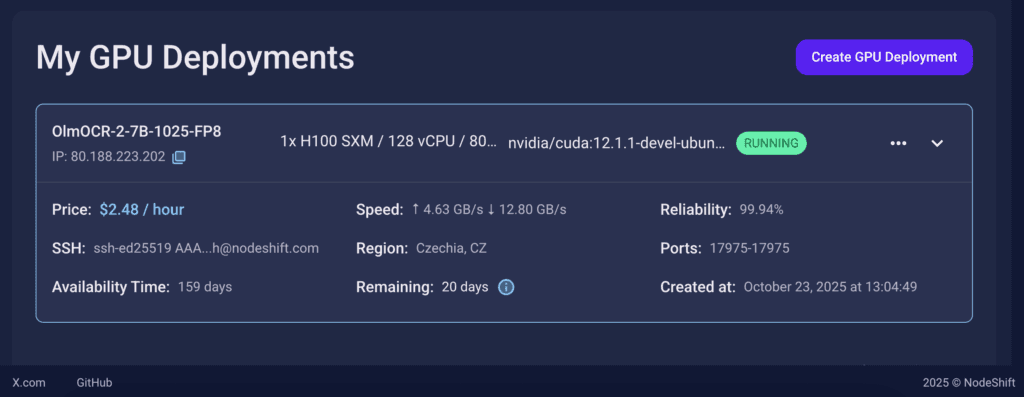
Step 6: Virtual Machine Successfully Deployed
You will get visual confirmation that your node is up and running.
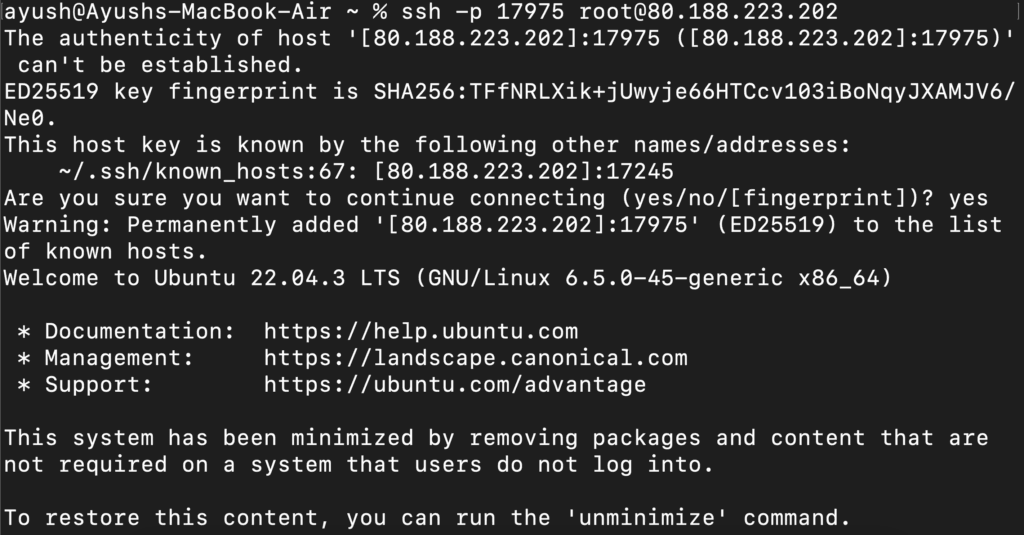
Step 7: Connect to GPUs using SSH
NodeShift GPUs can be connected to and controlled through a terminal using the SSH key provided during GPU creation.
Once your GPU Node deployment is successfully created and has reached the ‘RUNNING’ status, you can navigate to the page of your GPU Deployment Instance. Then, click the ‘Connect’ button in the top right corner.

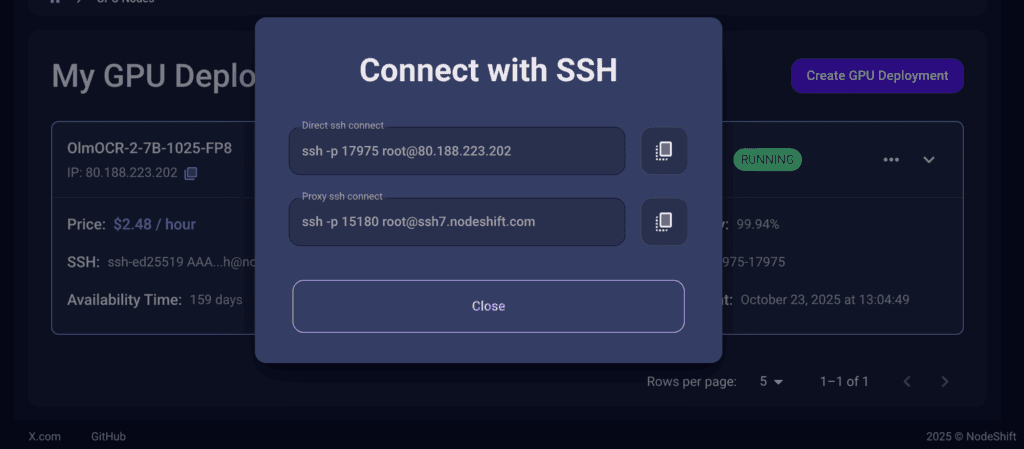
Now open your terminal and paste the proxy SSH IP or direct SSH IP.
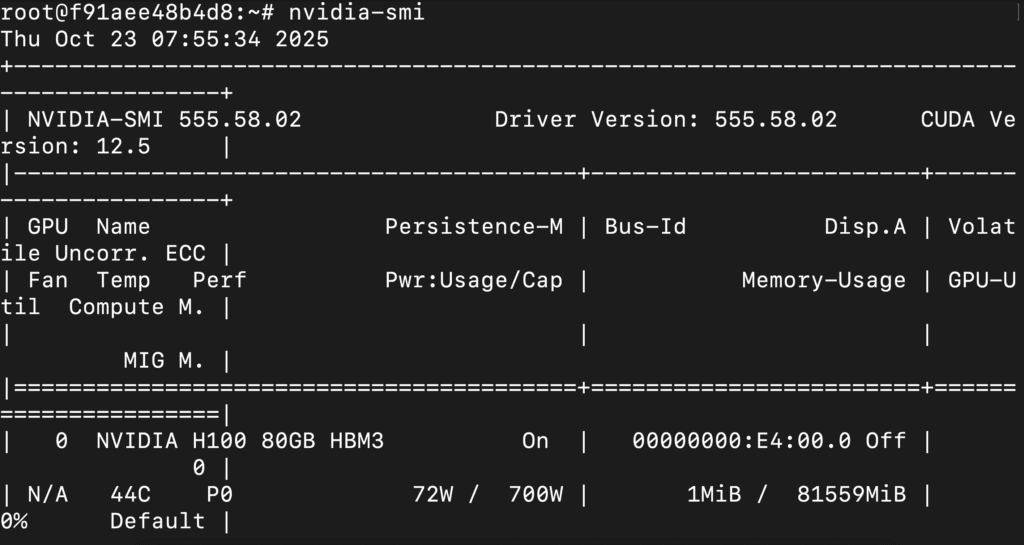
Next, If you want to check the GPU details, run the command below:
nvidia-smi
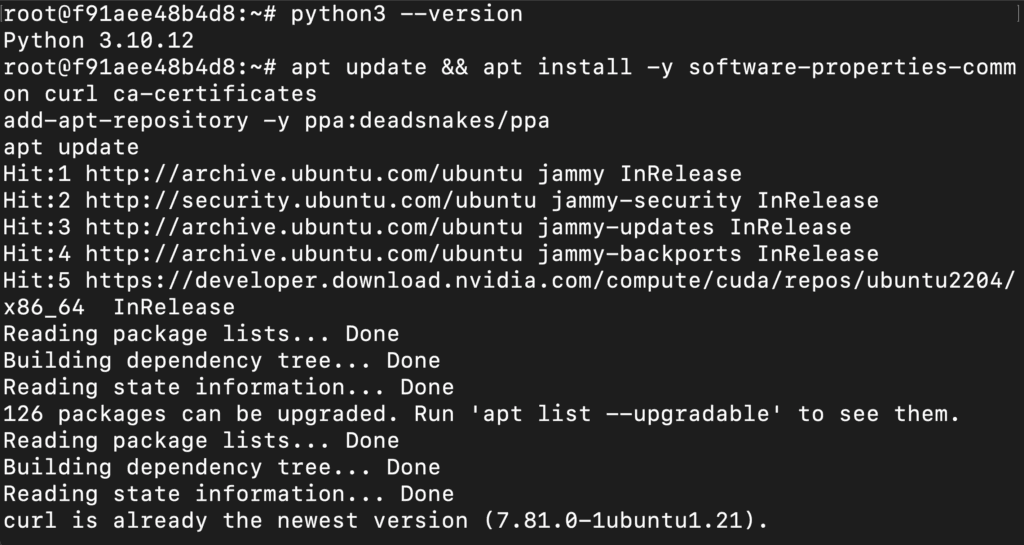
Step 8: Install Python 3.11 and Pip (VM already has Python 3.10; We Update It)
Run the following commands to check the available Python version.
If you check the version of the python, system has Python 3.10.12 available by default. To install a higher version of Python, you’ll need to use the deadsnakes PPA.
Run the following commands to add the deadsnakes PPA:
apt update && apt install -y software-properties-common curl ca-certificates
add-apt-repository -y ppa:deadsnakes/ppa
apt update
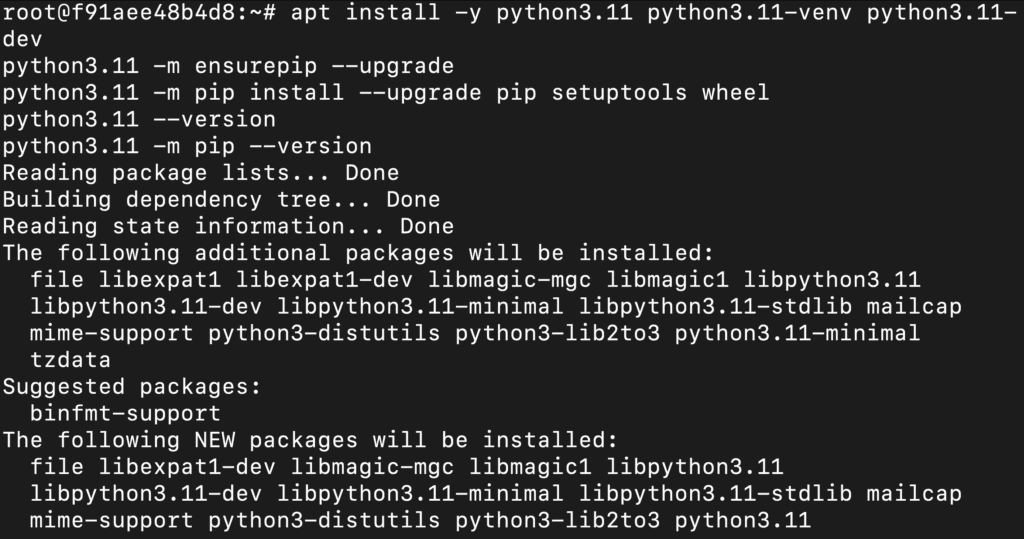
Now, run the following commands to install Python 3.11, Pip and Wheel:
apt install -y python3.11 python3.11-venv python3.11-dev
python3.11 -m ensurepip --upgrade
python3.11 -m pip install --upgrade pip setuptools wheel
python3.11 --version
python3.11 -m pip --version
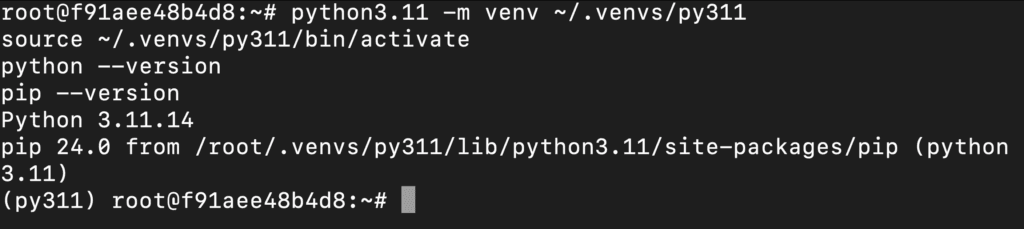
Step 9: Created and Activated Python 3.11 Virtual Environment
Run the following commands to created and activated Python 3.11 virtual environment:
python3.11 -m venv ~/.venvs/py311
source ~/.venvs/py311/bin/activate
python --version
pip --version
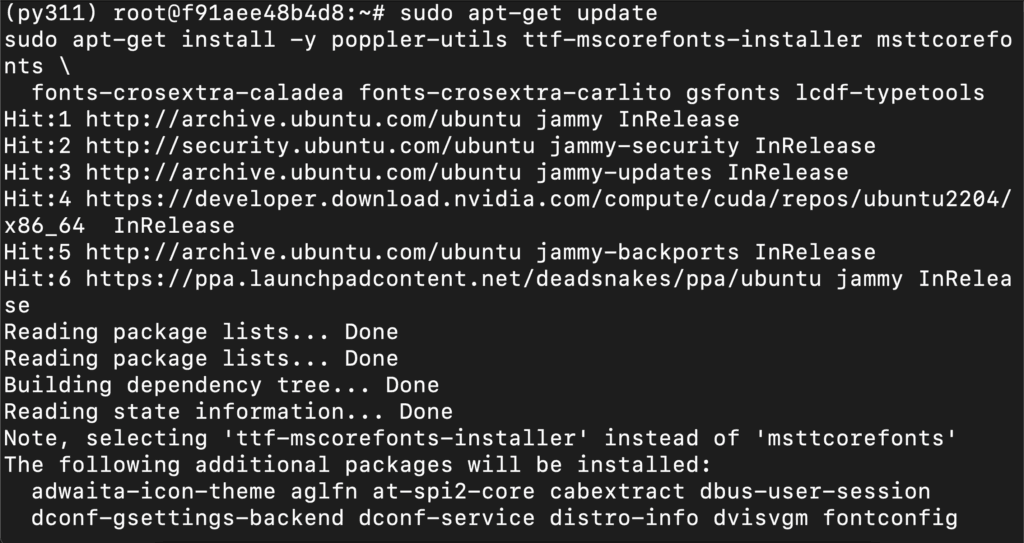
Step 10: Install System Packages (PDF Rendering)
Run the following command to install system packages:
sudo apt-get update
sudo apt-get install -y poppler-utils ttf-mscorefonts-installer msttcorefonts \
  fonts-crosextra-caladea fonts-crosextra-carlito gsfonts lcdf-typetools
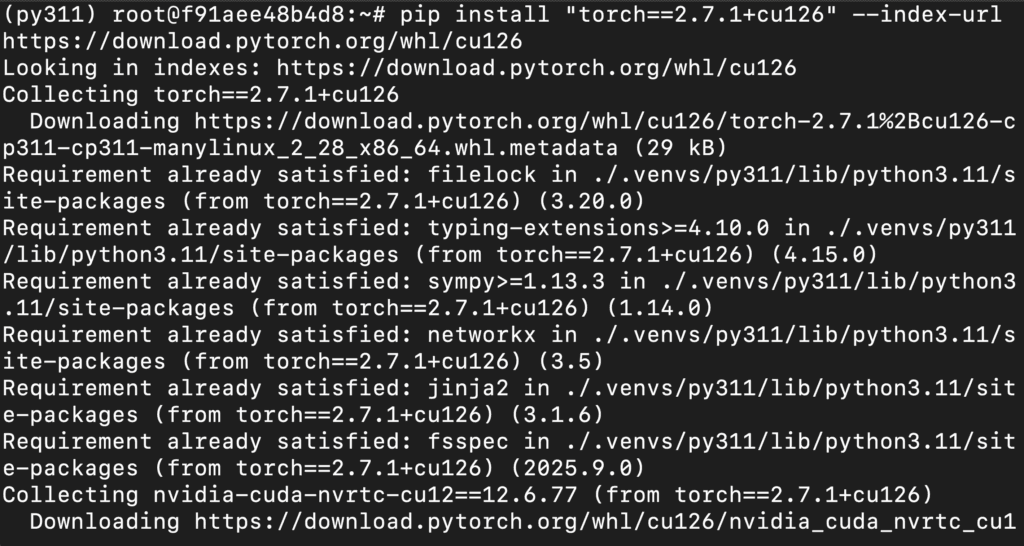
Step 11: Install PyTorch 2.7.1 (CUDA 12.6) in Your Env
Run the following command to install PyTorch:
pip install "torch==2.7.1+cu126" --index-url https://download.pytorch.org/whl/cu126
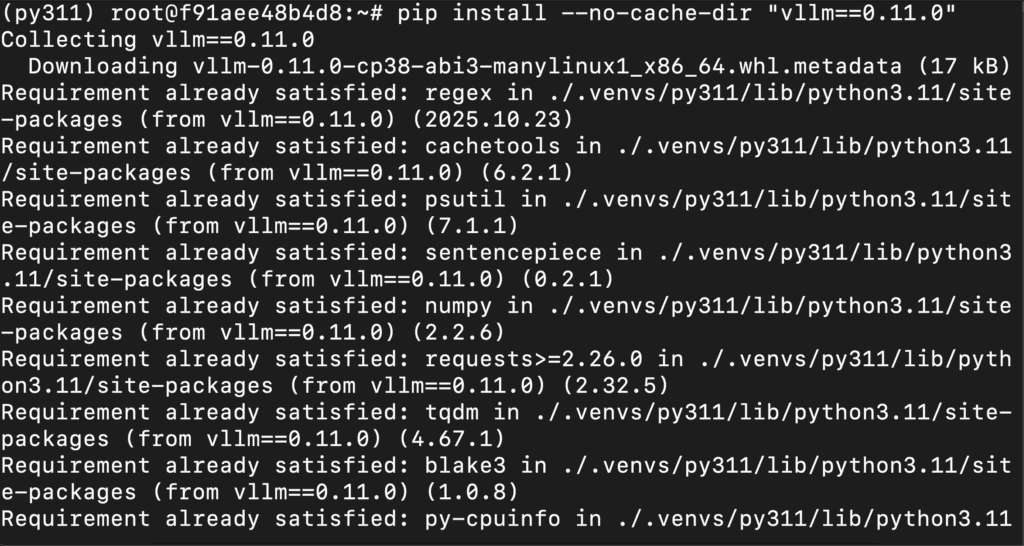
Step 12: Install vLLM 0.11.0
Run the following command to install vLLM 0.11.0:
pip install --no-cache-dir "vllm==0.11.0"
Step 13: Install olmOCR
Run the following command to install olmOCR:
pip install -U --no-deps "olmocr[gpu]"
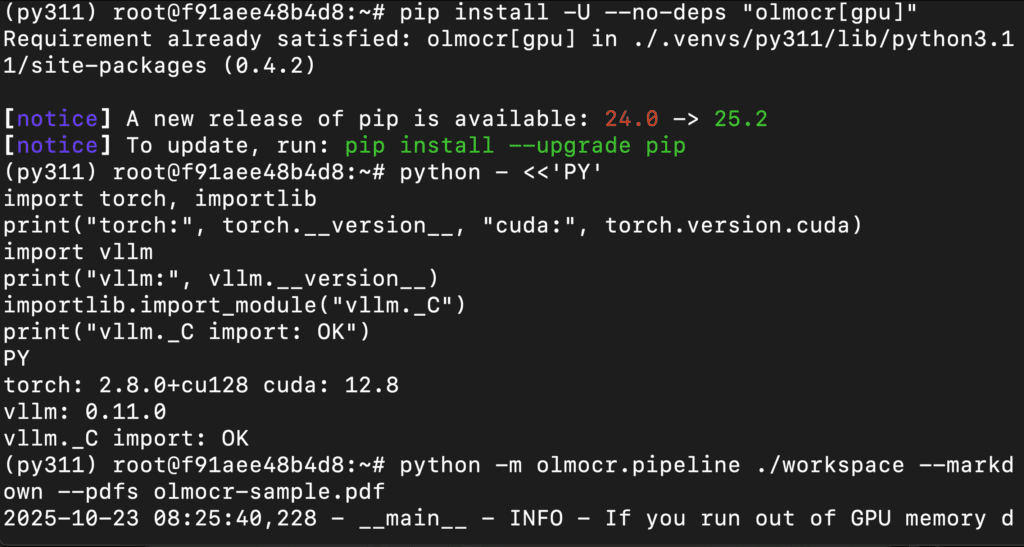
Step 14: Run the olmOCR pipeline on your Sample PDF
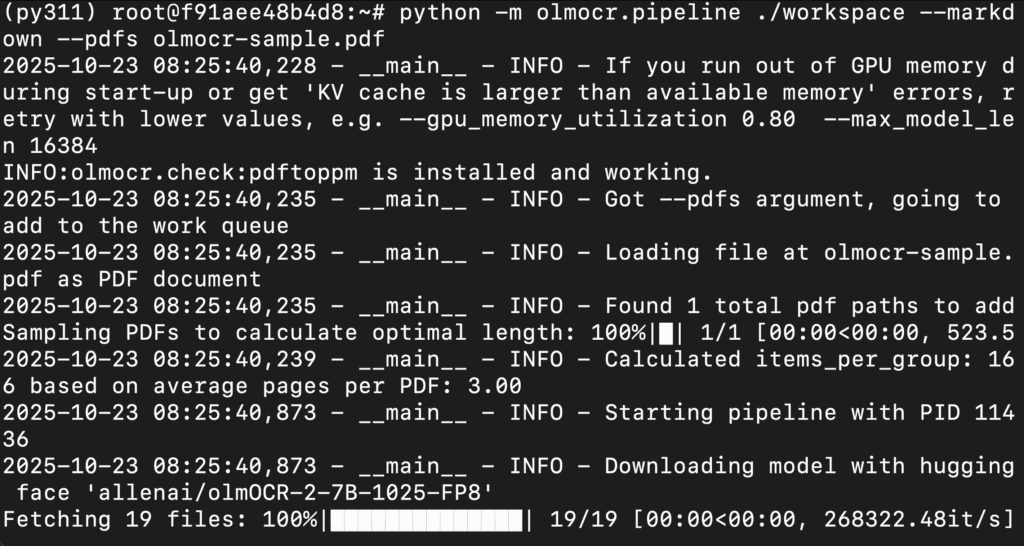
Execute the pipeline (this will spin up an internal vLLM server automatically):
python -m olmocr.pipeline ./workspace --markdown --pdfs olmocr-sample.pdf
Conclusion
That’s it! You’ve successfully installed and run olmOCR-2-7B-1025-FP8 — AllenAI’s powerful, FP8-quantized OCR-VLM — locally on a GPU VM.
With the help of NodeShift’s GPU-optimized environment, you can now convert scanned PDFs, tables, and handwritten documents into structured, high-accuracy Markdown in seconds.
This setup gives you:
- Production-grade OCR quality (≈82.4 ± 1.1 olmOCR-Bench score)
- Lightweight FP8 memory footprint for affordable deployment
- VLLM-based parallel inference for blazing-fast throughput
You’re now ready to batch hundreds of pages, integrate this into data-extraction pipelines, or even deploy it as a scalable document-processing service.


