LightOnOCR-1B is a new-generation vision – language model built from the ground up for high-performance Optical Character Recognition and document understanding. Packing over a billion parameters into an incredibly efficient architecture, it outperforms heavier general-purpose models while being dramatically faster and cheaper to run. Its Pixtral-based Vision Transformer encoder and Qwen3-derived lightweight text decoder work in perfect sync to deliver end-to-end differentiable OCR, eliminating the need for clunky external pipelines. From scanning old manuscripts and parsing math-heavy PDFs to extracting tables and multi-column layouts with precision, LightOnOCR-1B consistently achieves state-of-the-art accuracy (76.1 overall on Olmo-Bench), proving that speed, accuracy, and cost-efficiency can indeed coexist.
What makes it stand out is its 5× speed advantage over dots.ocr and its ability to process nearly half a million pages per day for less than a cent per thousand page, all while maintaining remarkable versatility across receipts, forms, and academic papers. If you’ve been waiting for a powerful, local-ready OCR model that combines research-grade intelligence with production-grade performance, then this guide will show you exactly how to get LightOnOCR-1B up and running in your local machine and start using it right away.
Prerequisites
The minimum system requirements for running this model are:
- GPU: 2x RTX4090 or 1x RTX A6000 (depending on the use case scale)
- Storage: 50 GB (preferable)
- VRAM: at least 45 GB
- Anaconda installed
Step-by-step process to install and run LightOnOCR-1B-1025
For the purpose of this tutorial, we’ll use a GPU-powered Virtual Machine by NodeShift since it provides high compute Virtual Machines at a very affordable cost on a scale that meets GDPR, SOC2, and ISO27001 requirements. Also, it offers an intuitive and user-friendly interface, making it easier for beginners to get started with Cloud deployments. However, feel free to use any cloud provider of your choice and follow the same steps for the rest of the tutorial.
Step 1: Setting up a NodeShift Account
Visit app.nodeshift.com and create an account by filling in basic details, or continue signing up with your Google/GitHub account.
If you already have an account, login straight to your dashboard.

Step 2: Create a GPU Node
After accessing your account, you should see a dashboard (see image), now:
- Navigate to the menu on the left side.
- Click on the GPU Nodes option.

- Click on Start to start creating your very first GPU node.

These GPU nodes are GPU-powered virtual machines by NodeShift. These nodes are highly customizable and let you control different environmental configurations for GPUs ranging from H100s to A100s, CPUs, RAM, and storage, according to your needs.
Step 3: Selecting configuration for GPU (model, region, storage)
- For this tutorial, we’ll be using 1x RTX A6000 GPU, however, you can choose any GPU as per the prerequisites.
- Similarly, we’ll opt for 200GB storage by sliding the bar. You can also select the region where you want your GPU to reside from the available ones.

Step 4: Choose GPU Configuration and Authentication method
- After selecting your required configuration options, you’ll see the available GPU nodes in your region and according to (or very close to) your configuration. In our case, we’ll choose a 1x RTX A6000 48GB GPU node with 64vCPUs/63GB RAM/200GB SSD.

2. Next, you’ll need to select an authentication method. Two methods are available: Password and SSH Key. We recommend using SSH keys, as they are a more secure option. To create one, head over to our official documentation.

Step 5: Choose an Image
The final step is to choose an image for the VM, which in our case is Nvidia Cuda.

We will switch to the Custom Image tab and select a specific Docker image that meets all runtime and compatibility requirements.
We choose the following image:
nvidia/cuda:12.1.1-devel-ubuntu22.04
This image is essential because it includes:
- Full CUDA toolkit (including
nvcc)
- Proper support for building and running GPU-based applications
- Compatibility with CUDA 12.1.1 required by certain model operations
Launch Mode
We selected:
Interactive shell server
This gives us SSH access and full control over terminal operations — perfect for installing dependencies, running benchmarks, and launching models.

Docker Repository Authentication
We left all fields empty here.
Since the Docker image is publicly available on Docker Hub, no login credentials are required.
Identification
nvidia/cuda:12.1.1-devel-ubuntu22.04

That’s it! You are now ready to deploy the node. Finalize the configuration summary, and if it looks good, click Create to deploy the node.


Step 6: Connect to active Compute Node using SSH
- As soon as you create the node, it will be deployed in a few seconds or a minute. Once deployed, you will see a status Running in green, meaning that our Compute node is ready to use!
- Once your GPU shows this status, navigate to the three dots on the right, click on Connect with SSH, and copy the SSH details that appear.

As you copy the details, follow the below steps to connect to the running GPU VM via SSH:
- Open your terminal, paste the SSH command, and run it.
2. In some cases, your terminal may take your consent before connecting. Enter ‘yes’.
3. A prompt will request a password. Type the SSH password, and you should be connected.
Output:

Next, If you want to check the GPU details, run the following command in the terminal:
!nvidia-smi
Step 7: Set up the project environment with dependencies
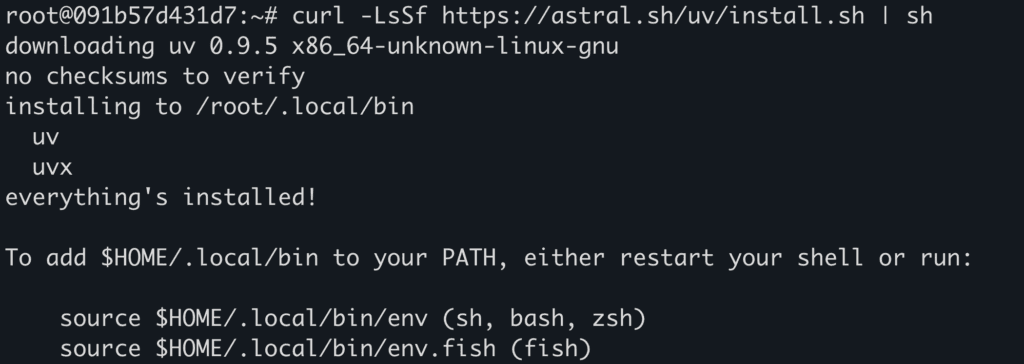
- Install and setup
uv for creating virtual envs.
curl -LsSf https://astral.sh/uv/install.sh | sh
source .venv/bin/activate
Output:
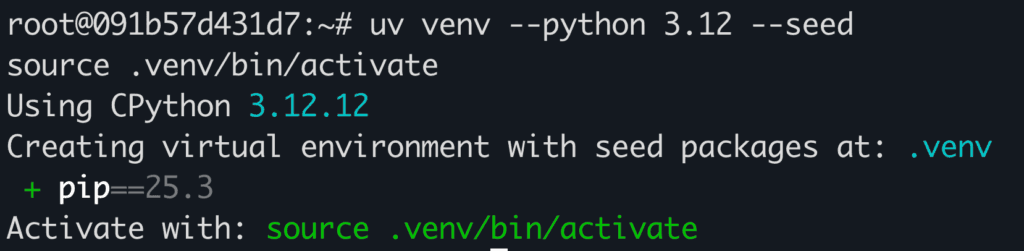
2. Create a virtual environment using uv.
uv venv --python 3.12 --seed
source .venv/bin/activate
Output:
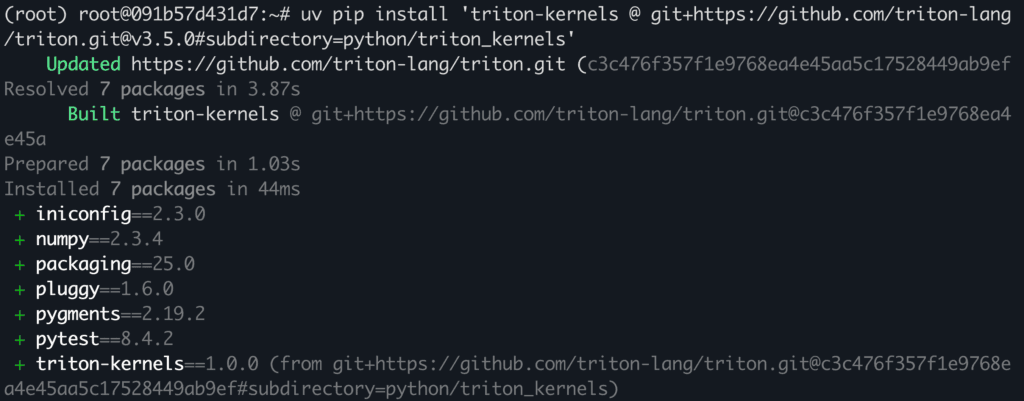
3. Install Triton kernel and other packages.
uv pip install 'triton-kernels @ git+https://github.com/triton-lang/triton.git@v3.5.0#subdirectory=python/triton_kernels'
uv pip install pypdfium2 pillow requests
Output:

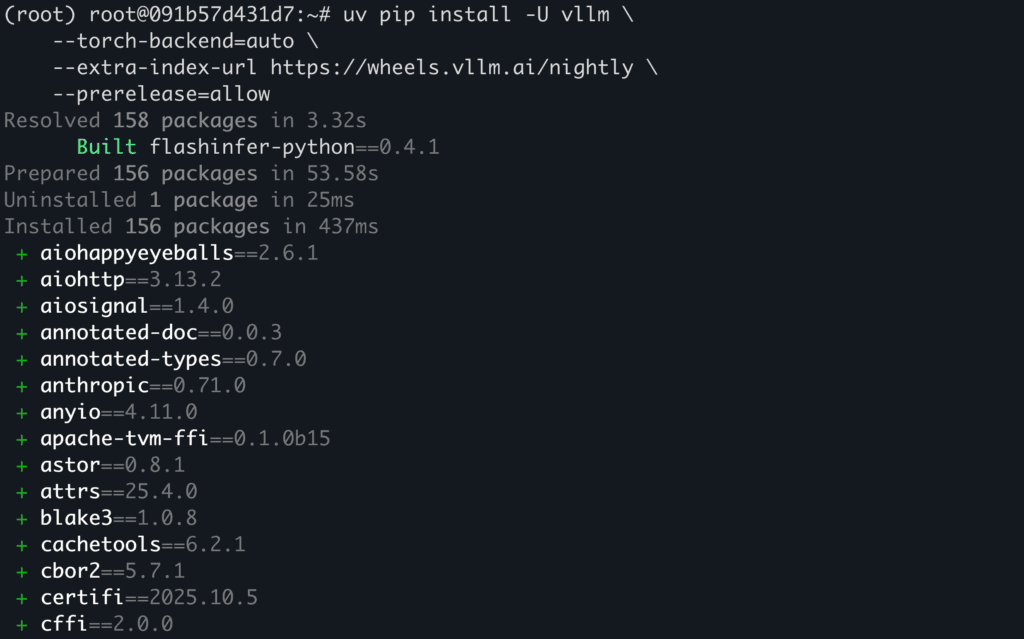
4. Install vllm with required dependencies.
uv pip install -U vllm \
    --torch-backend=auto \
    --extra-index-url https://wheels.vllm.ai/nightly \
    --prerelease=allow
Output:
Step 8: Download and Run the Model
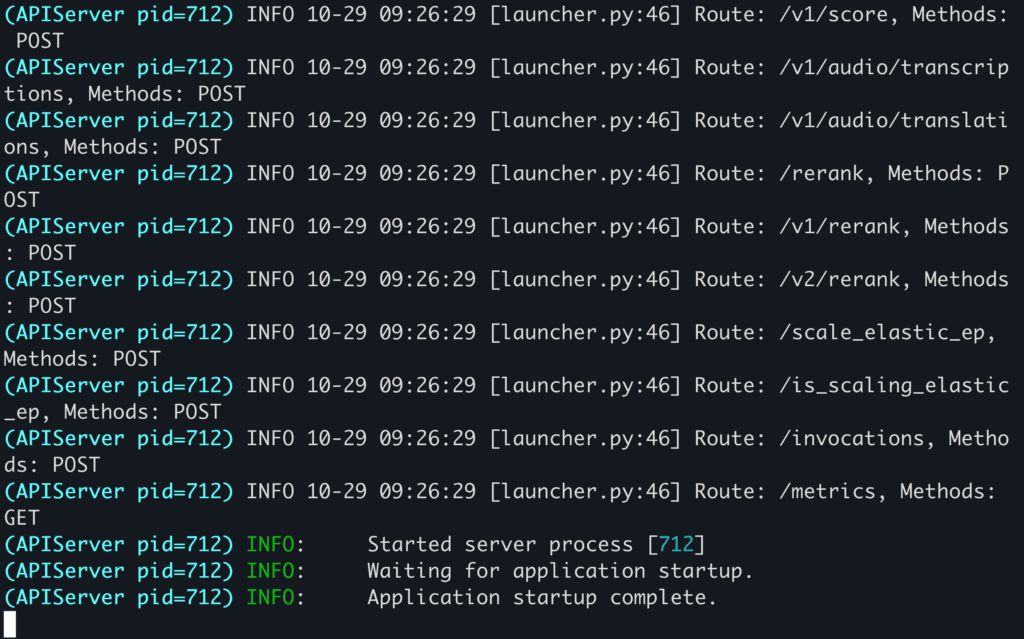
- Serve the model with
vllm which will also download the model weights.
vllm serve lightonai/LightOnOCR-1B-1025 \
    --limit-mm-per-prompt '{"image": 1}' \
    --async-scheduling
Output:
2. Open a separate terminal and connect to your VM using SSH. Create a python file named app.py which will contain the inference code.
touch app.py
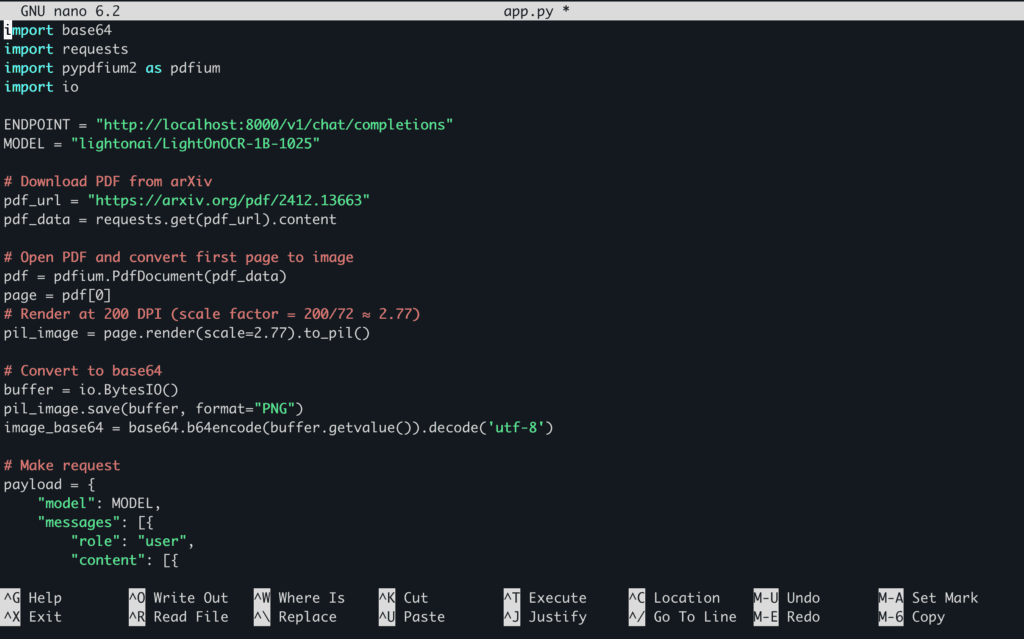
3. Open the app.py file in the editor of your choice and paste the following code in the file.
nano app.py
import base64
import requests
import pypdfium2 as pdfium
import io

ENDPOINT = "http://localhost:8000/v1/chat/completions"
MODEL = "lightonai/LightOnOCR-1B-1025"

# Download PDF from arXiv
pdf_url = "https://arxiv.org/pdf/2412.13663"
pdf_data = requests.get(pdf_url).content

# Open PDF and convert first page to image
pdf = pdfium.PdfDocument(pdf_data)
page = pdf[0]
# Render at 200 DPI (scale factor = 200/72 ≈ 2.77)
pil_image = page.render(scale=2.77).to_pil()

# Convert to base64
buffer = io.BytesIO()
pil_image.save(buffer, format="PNG")
image_base64 = base64.b64encode(buffer.getvalue()).decode('utf-8')

# Make request
payload = {
    "model": MODEL,
    "messages": [{
        "role": "user",
        "content": [{
            "type": "image_url",
            "image_url": {"url": f"data:image/png;base64,{image_base64}"}
        }]
    }],
    "max_tokens": 4096,
    "temperature": 0.2,
    "top_p": 0.9,
}

response = requests.post(ENDPOINT, json=payload)
text = response.json()['choices'][0]['message']['content']
print(text)
Here’s how the code looks in the file:
Save the file and close the editor.
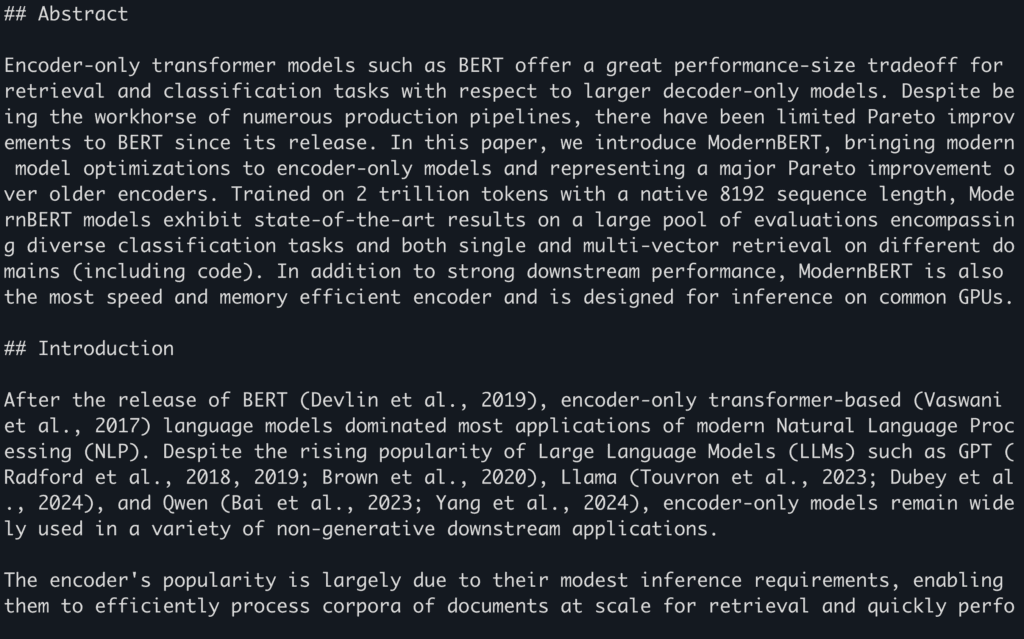
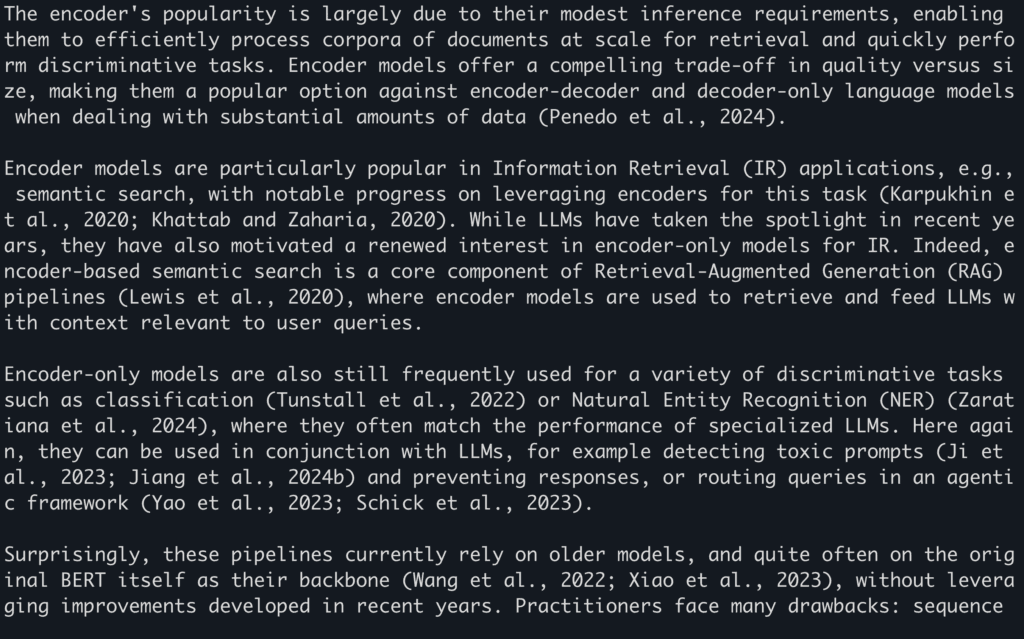
4. Run the model for inference.
python app.py
Here’s the PDF that we pass in for inference: https://arxiv.org/pdf/2412.13663
You can replace the PDF with any other PDF or image of your choice by replacing the link in the inference code.
Output:

Conclusion
LightOnOCR-1B stands out as a compact yet powerful vision-language model that redefines OCR and document parsing through end-to-end differentiable learning, lightning-fast inference, and unmatched cost efficiency. From extracting complex layouts to processing large-scale document batches effortlessly, it bridges the gap between research precision and real-world scalability. With NodeShift Cloud, running and experimenting with LightOnOCR-1B locally becomes seamless, providing optimized installation workflows, GPU-ready environments, and pre-configured dependencies that let you focus on exploration, not setup. If you’re a researcher fine-tuning OCR models or a developer deploying production pipelines, NodeShift makes harnessing the full potential of LightOnOCR-1B both accessible and efficient.


