Chandra is Datalab’s next-generation OCR model built for precise document understanding. It goes beyond simple text extraction — converting images and PDFs into structured Markdown, HTML, or JSON while preserving original layout details like tables, forms, and diagrams. With strong support for handwriting, math equations, and multi-column layouts across 40+ languages, Chandra achieves an overall accuracy of 83.1% on the olmOCR benchmark, outperforming most open and commercial OCR systems. It can be used easily via CLI, VLLM, Hugging Face, or a Streamlit app, making it versatile for developers, researchers, and document intelligence workflows.
Benchmarks
| Model | Overall Score |
|---|
| Datalab Chandra v0.1.0 | 83.1 |
| dots.ocr | 79.1 |
| olmOCR v0.3.0 | 78.5 |
| Datalab Marker v1.10.0 | 76.5 |
| Deepseek OCR | 75.4 |
| Mistral OCR API | 72.0 |
| GPT-4o (Anchored) | 69.9 |
| Qwen 3 VL | 64.6 |
| Gemini Flash 2 (Anchored) | 63.8 |
| Model | ArXiv | Old Scans Math | Tables | Old Scans | Headers and Footers | Multi column | Long tiny text | Base | Overall | Source |
|---|
| Datalab Chandra v0.1.0 | 82.2 | 80.3 | 88.0 | 50.4 | 90.8 | 81.2 | 92.3 | 99.9 | 83.1 ± 0.9 | Own benchmarks |
| Datalab Marker v1.10.0 | 83.8 | 69.7 | 74.8 | 32.3 | 86.6 | 79.4 | 85.7 | 99.6 | 76.5 ± 1.0 | Own benchmarks |
| Mistral OCR API | 77.2 | 67.5 | 60.6 | 29.3 | 93.6 | 71.3 | 77.1 | 99.4 | 72.0 ± 1.1 | olmocr repo |
| Deepseek OCR | 75.2 | 72.3 | 79.7 | 33.3 | 96.1 | 66.7 | 80.1 | 99.7 | 75.4 ± 1.0 | Own benchmarks |
| GPT-4o (Anchored) | 53.5 | 74.5 | 70.0 | 40.7 | 93.8 | 69.3 | 60.6 | 96.8 | 69.9 ± 1.1 | olmocr repo |
| Gemini Flash 2 (Anchored) | 54.5 | 56.1 | 72.1 | 34.2 | 64.7 | 61.5 | 71.5 | 95.6 | 63.8 ± 1.2 | olmocr repo |
| Qwen 3 VL | 70.2 | 75.1 | 45.6 | 37.5 | 89.1 | 62.1 | 43.0 | 94.3 | 64.6 ± 1.1 | Own benchmarks |
| olmOCR v0.3.0 | 78.6 | 79.9 | 72.9 | 43.9 | 95.1 | 77.3 | 81.2 | 98.9 | 78.5 ± 1.1 | olmocr repo |
| dots.ocr | 82.1 | 64.2 | 88.3 | 40.9 | 94.1 | 82.4 | 81.2 | 99.5 | 79.1 ± 1.0 | dots.ocr repo |
GPU Configuration Table for Chandra
| Setup | Engine | Precision / Quant | GPU Model | Min GPU VRAM | Typical Max Img Res | Batch (images) | Throughput (pps*) | Notes / When to use |
|---|
| CPU only | HF | FP16→FP32 autocast | — | — | 1024–1280 px | 1 | 0.1–0.3 | Dev/testing only; no CUDA required; very slow. |
| Single GPU (Entry) | HF | 4-bit (bitsandbytes) | NVIDIA RTX 3060 / 4060 Ti | 8–10 GB | 1024–1536 px | 1–2 | 0.4–0.8 | Ideal for small docs; cost-efficient, slightly slower inference. |
| Single GPU (Balanced) | HF / vLLM | INT8 | NVIDIA RTX A2000 / A4000 / T4 | 12–16 GB | 1536–2048 px | 2–4 | 0.8–1.5 | Balanced setup for general workloads, low VRAM usage. |
| Single GPU (High-Performance) | vLLM | BF16 / FP16 | NVIDIA RTX 3090 / 4090 / L40S | 20–24 GB | 2048–2304 px | 4–8 | 1.5–3.0 | Recommended setup for smooth, fast batch processing. |
| Single GPU (Enterprise) | vLLM | BF16 / FP16 + FlashAttention2 | NVIDIA A100 40GB / H100 80GB | 40–80 GB | 2304–2560+ px | 8–12 | 3.0–5.0 | Best for production OCR pipelines, large pages, or complex docs. |
| Multi-GPU (Tensor Parallel) | vLLM | BF16 / FP16 | 2× A100 40GB / 2× H100 80GB | 80–160 GB total | 2560+ px | 12–16 | 5.0–8.0 | Large-scale processing; ideal for concurrent document batches. |
Resources
Link: https://huggingface.co/datalab-to/chandra
Step-by-Step Process to Install & Run Chandra-OCR Locally
For the purpose of this tutorial, we will use a GPU-powered Virtual Machine offered by NodeShift; however, you can replicate the same steps with any other cloud provider of your choice. NodeShift provides the most affordable Virtual Machines at a scale that meets GDPR, SOC2, and ISO27001 requirements.
Step 1: Sign Up and Set Up a NodeShift Cloud Account
Visit the NodeShift Platform and create an account. Once you’ve signed up, log into your account.
Follow the account setup process and provide the necessary details and information.
Step 2: Create a GPU Node (Virtual Machine)
GPU Nodes are NodeShift’s GPU Virtual Machines, on-demand resources equipped with diverse GPUs ranging from H200s to A100s. These GPU-powered VMs provide enhanced environmental control, allowing configuration adjustments for GPUs, CPUs, RAM, and Storage based on specific requirements.
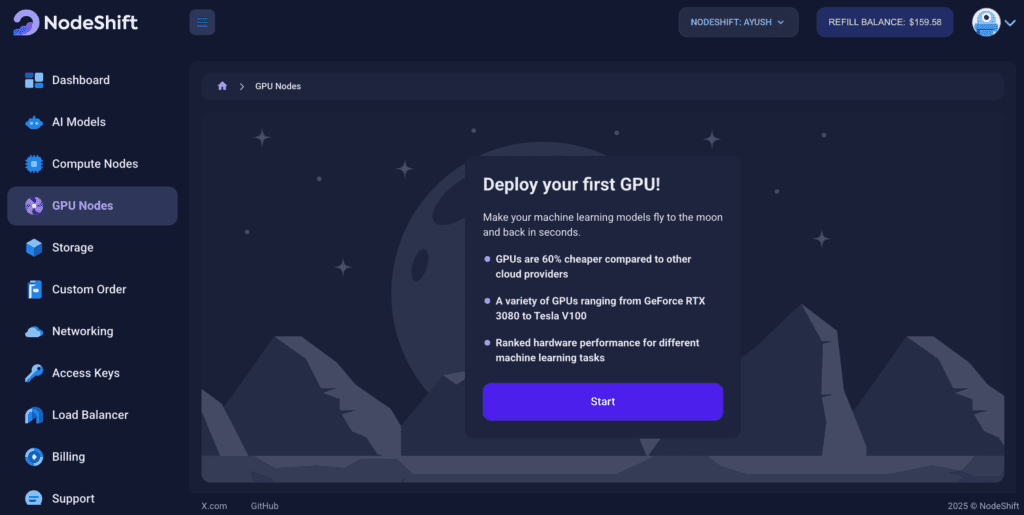
Navigate to the menu on the left side. Select the GPU Nodes option, create a GPU Node in the Dashboard, click the Create GPU Node button, and create your first Virtual Machine deploy
Step 3: Select a Model, Region, and Storage
In the “GPU Nodes” tab, select a GPU Model and Storage according to your needs and the geographical region where you want to launch your model.
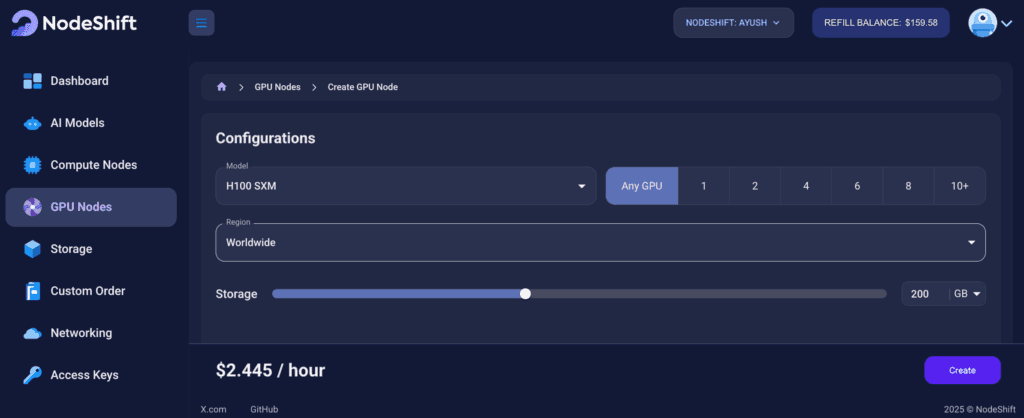
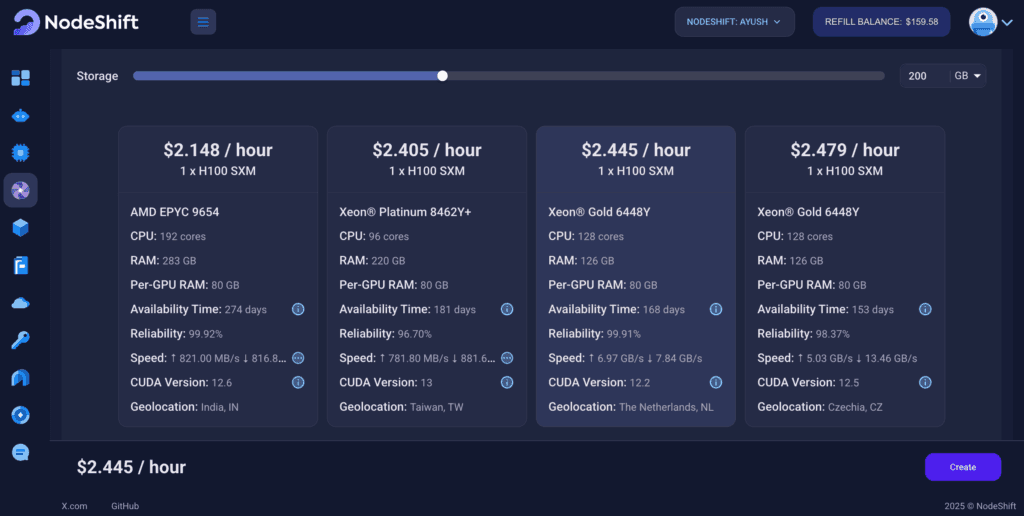
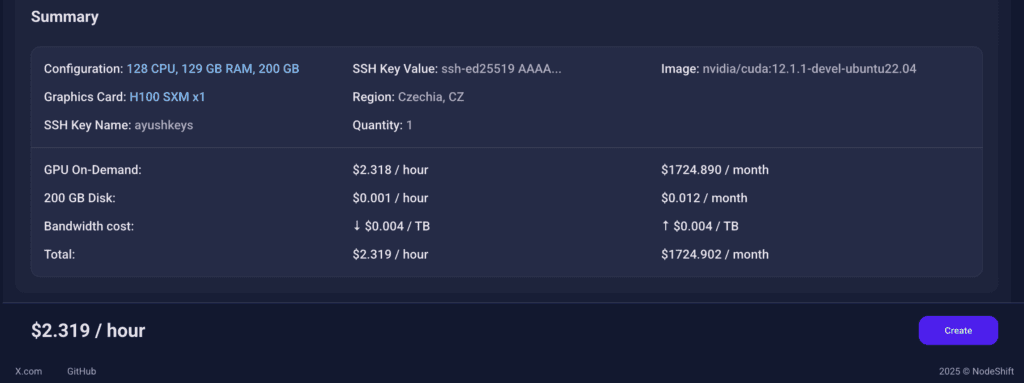
We will use 1 x H100 SXM GPU for this tutorial to achieve the fastest performance. However, you can choose a more affordable GPU with less VRAM if that better suits your requirements.
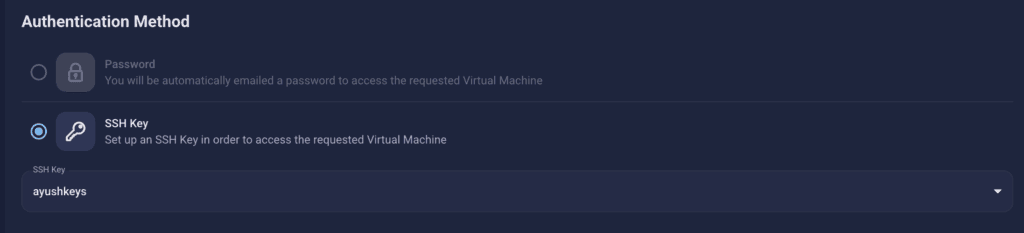
Step 4: Select Authentication Method
There are two authentication methods available: Password and SSH Key. SSH keys are a more secure option. To create them, please refer to our official documentation.
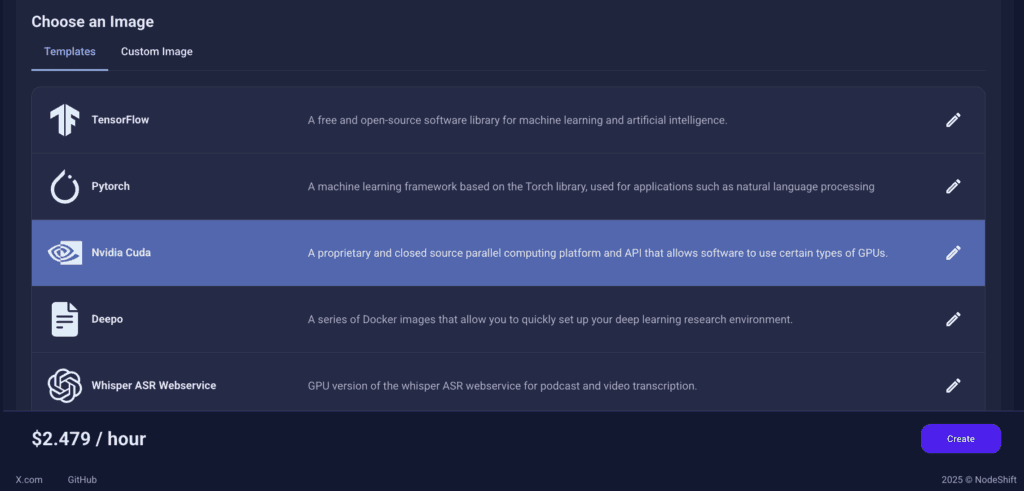
Step 5: Choose an Image
In our previous blogs, we used pre-built images from the Templates tab when creating a Virtual Machine. However, for running Chandra-OCR, we need a more customized environment with full CUDA development capabilities. That’s why, in this case, we switched to the Custom Image tab and selected a specific Docker image that meets all runtime and compatibility requirements.
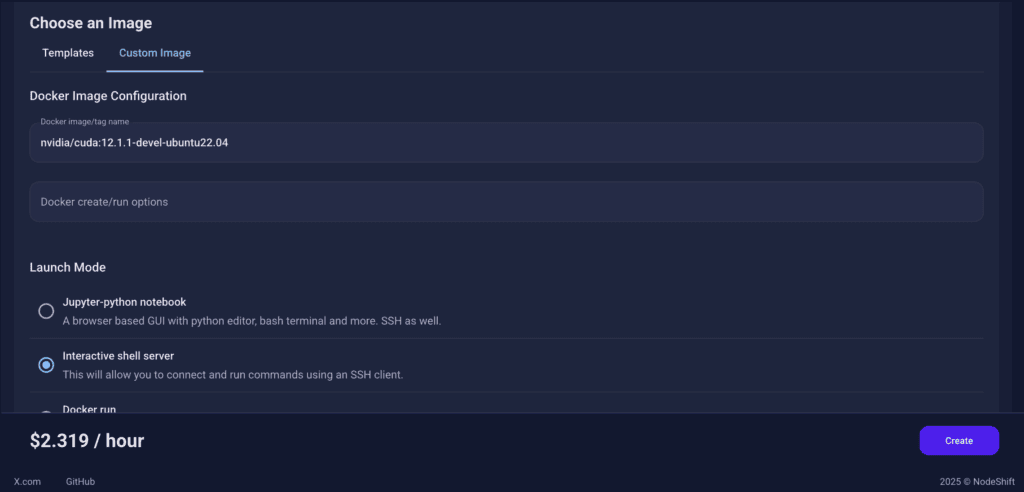
We chose the following image:
nvidia/cuda:12.1.1-devel-ubuntu22.04
This image is essential because it includes:
- Full CUDA toolkit (including
nvcc)
- Proper support for building and running GPU-based models like Chandra-OCR.
- Compatibility with CUDA 12.1.1 required by certain model operations
Launch Mode
We selected:
Interactive shell server
This gives us SSH access and full control over terminal operations — perfect for installing dependencies, running benchmarks, and launching models like Chandra-OCR.
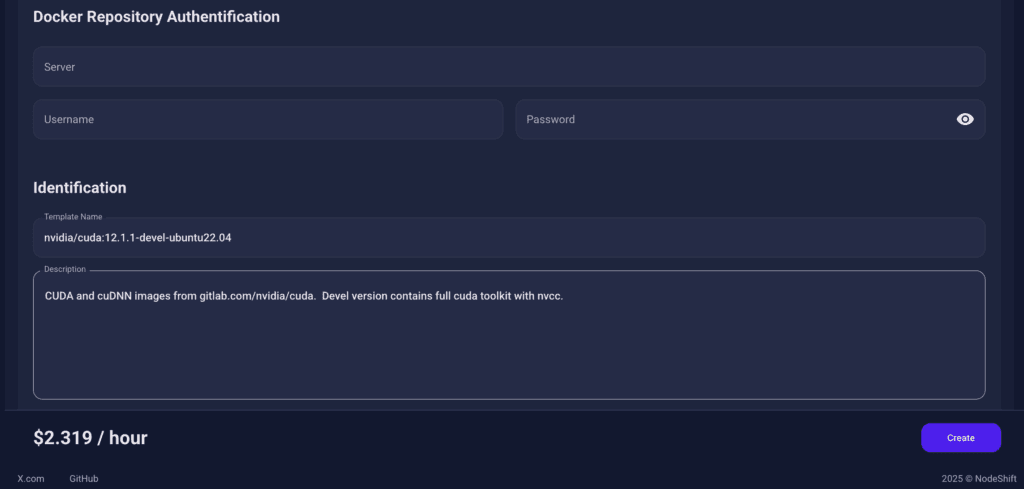
Docker Repository Authentication
We left all fields empty here.
Since the Docker image is publicly available on Docker Hub, no login credentials are required.
Identification
nvidia/cuda:12.1.1-devel-ubuntu22.04
CUDA and cuDNN images from gitlab.com/nvidia/cuda. Devel version contains full cuda toolkit with nvcc.
This setup ensures that the Chandra-OCR runs in a GPU-enabled environment with proper CUDA access and high compute performance.
After choosing the image, click the ‘Create’ button, and your Virtual Machine will be deployed.
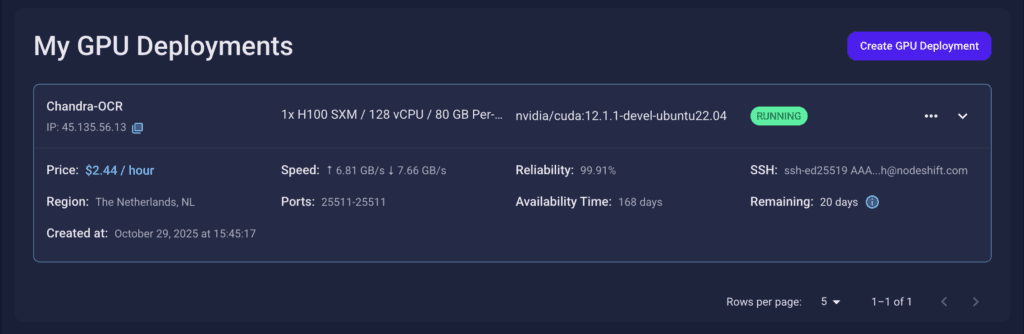
Step 6: Virtual Machine Successfully Deployed
You will get visual confirmation that your node is up and running.
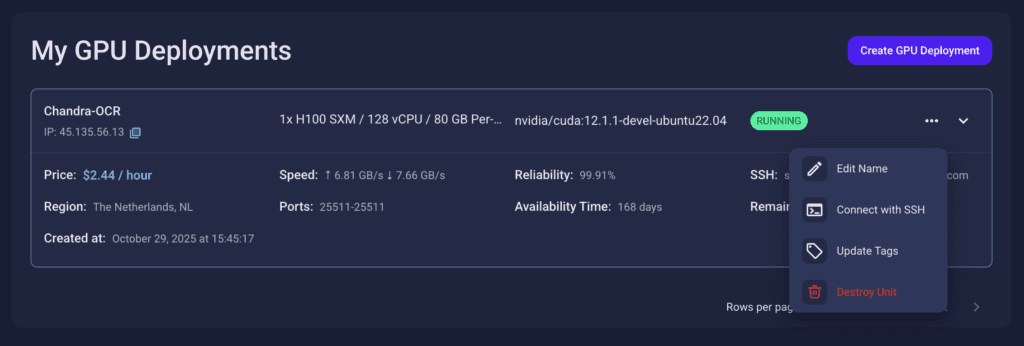
Step 7: Connect to GPUs using SSH
NodeShift GPUs can be connected to and controlled through a terminal using the SSH key provided during GPU creation.
Once your GPU Node deployment is successfully created and has reached the ‘RUNNING’ status, you can navigate to the page of your GPU Deployment Instance. Then, click the ‘Connect’ button in the top right corner.

Now open your terminal and paste the proxy SSH IP or direct SSH IP.
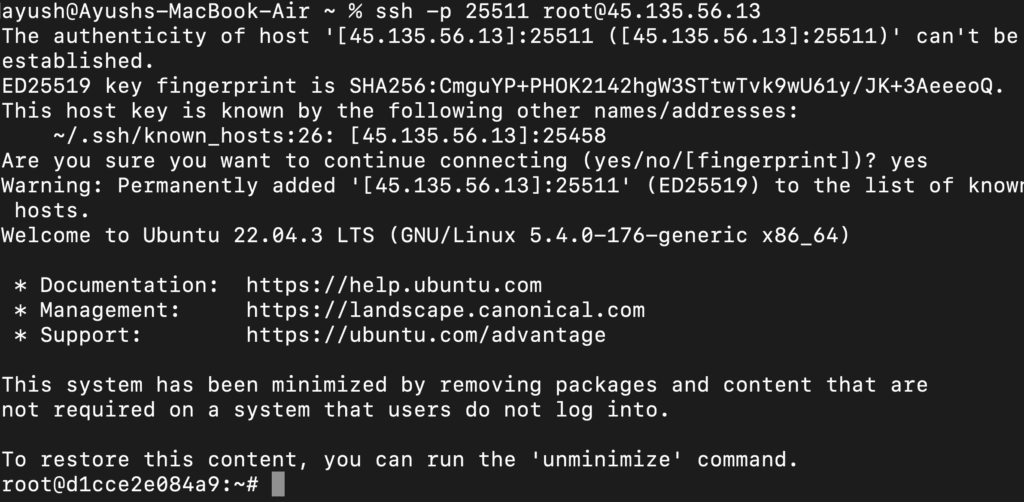
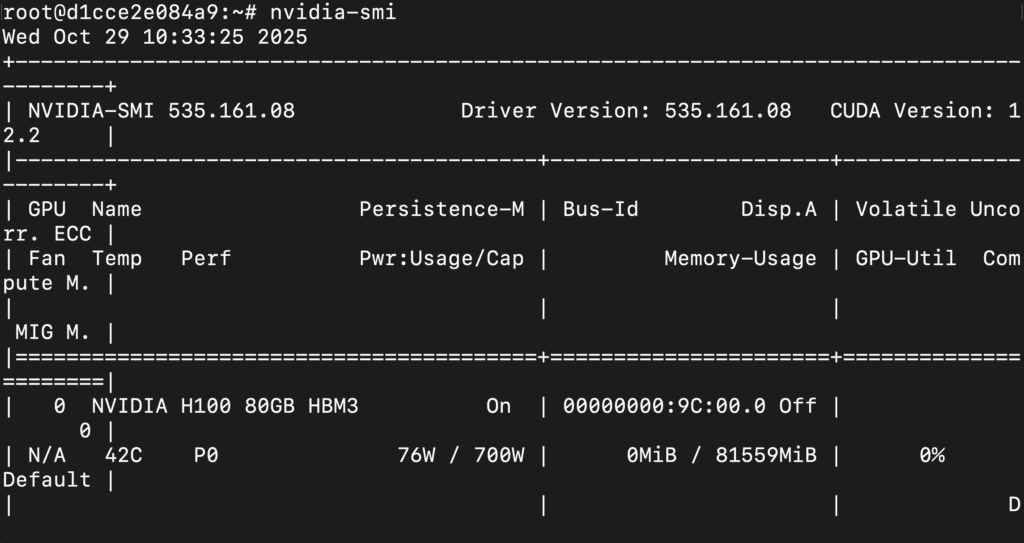
Next, If you want to check the GPU details, run the command below:
nvidia-smi
Step 8: Install Python 3.11 and Pip (VM already has Python 3.10; We Update It)
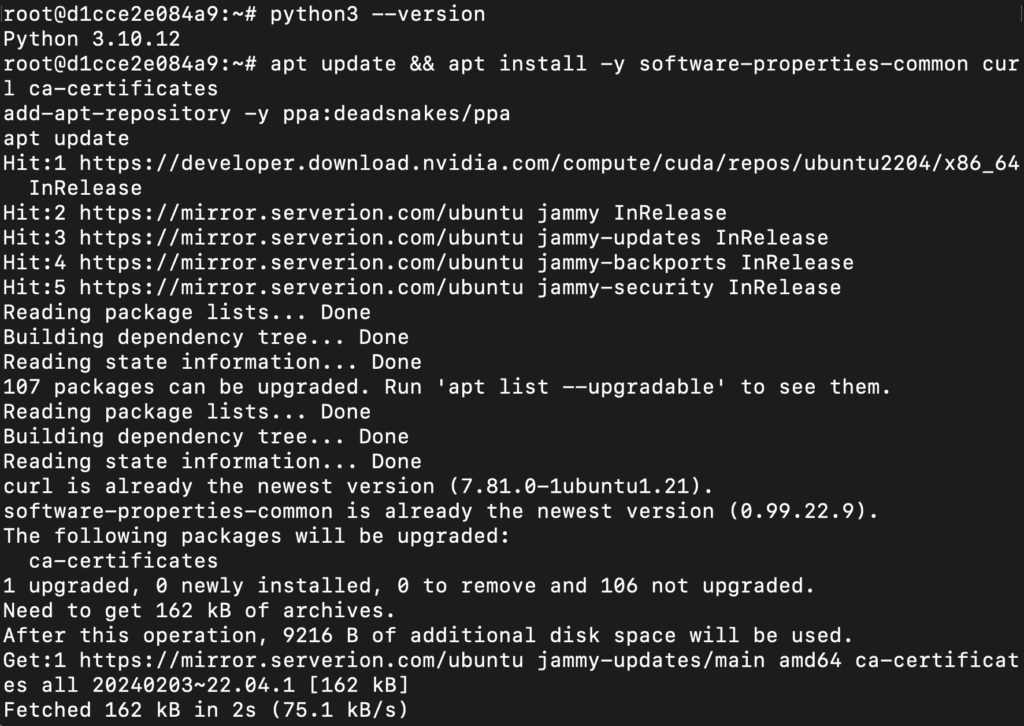
Run the following commands to check the available Python version.
If you check the version of the python, system has Python 3.10.12 available by default. To install a higher version of Python, you’ll need to use the deadsnakes PPA.
Run the following commands to add the deadsnakes PPA:
apt update && apt install -y software-properties-common curl ca-certificates
add-apt-repository -y ppa:deadsnakes/ppa
apt update
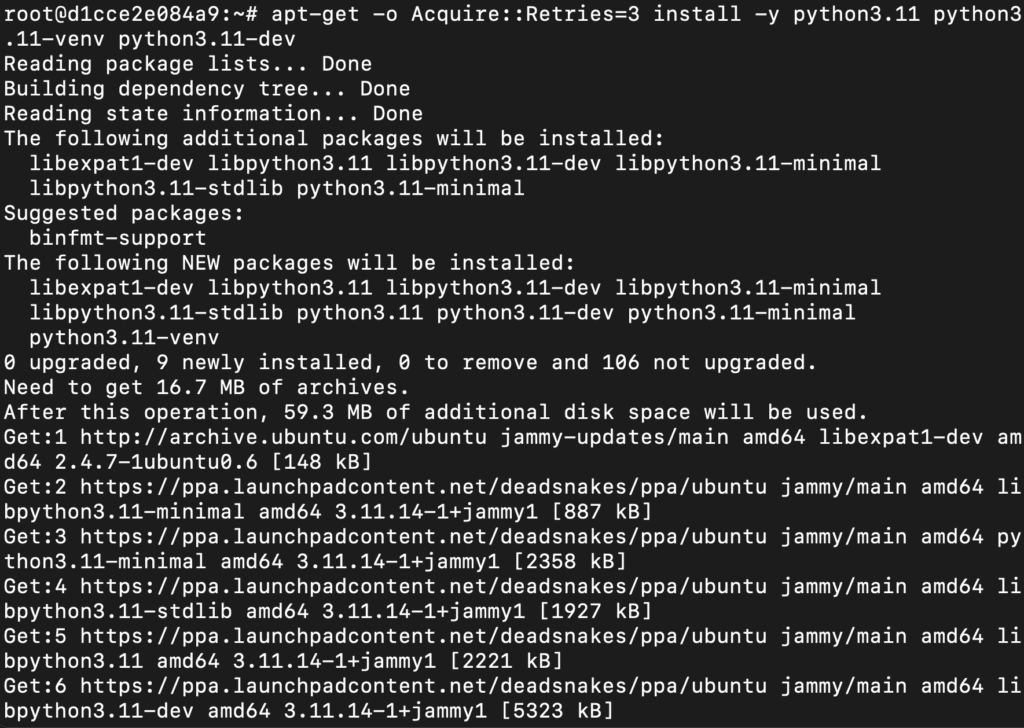
Now, run the following commands to install Python 3.11, Pip and Wheel:
apt-get -o Acquire::Retries=3 install -y python3.11 python3.11-venv python3.11-dev
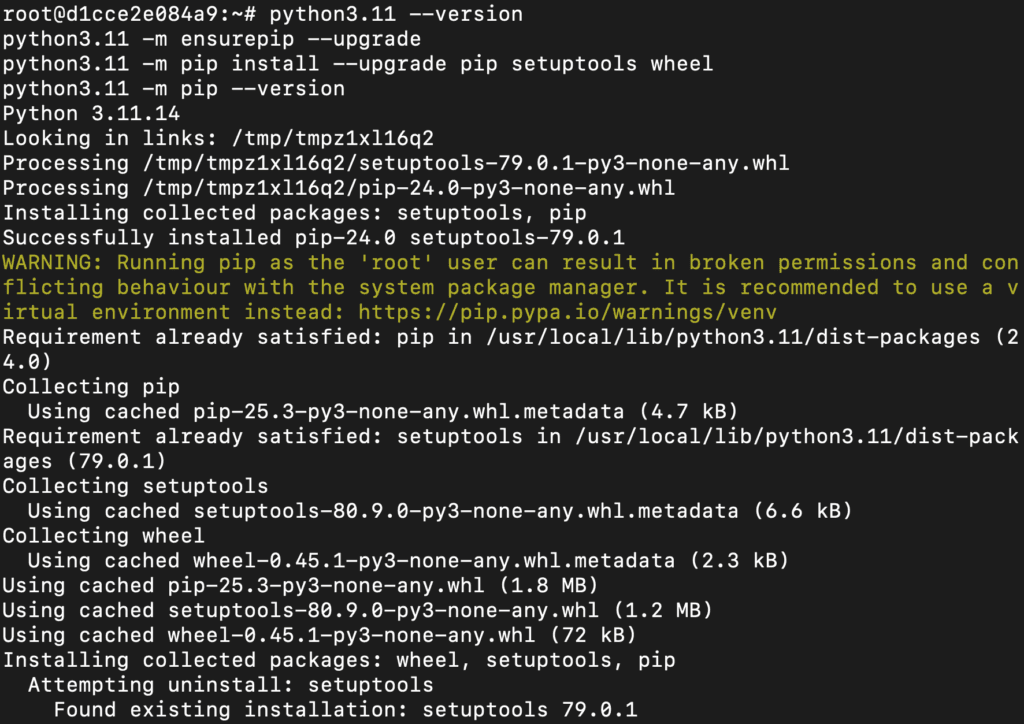
python3.11 --version
python3.11 -m ensurepip --upgrade
python3.11 -m pip install --upgrade pip setuptools wheel
python3.11 -m pip --version
Step 9: Created and Activated Python 3.11 Virtual Environment
Run the following commands to created and activated Python 3.11 virtual environment:
python3.11 -m venv ~/.venvs/py311
source ~/.venvs/py311/bin/activate
python --version
pip --version

Step 10: Install PyTorch for CUDA
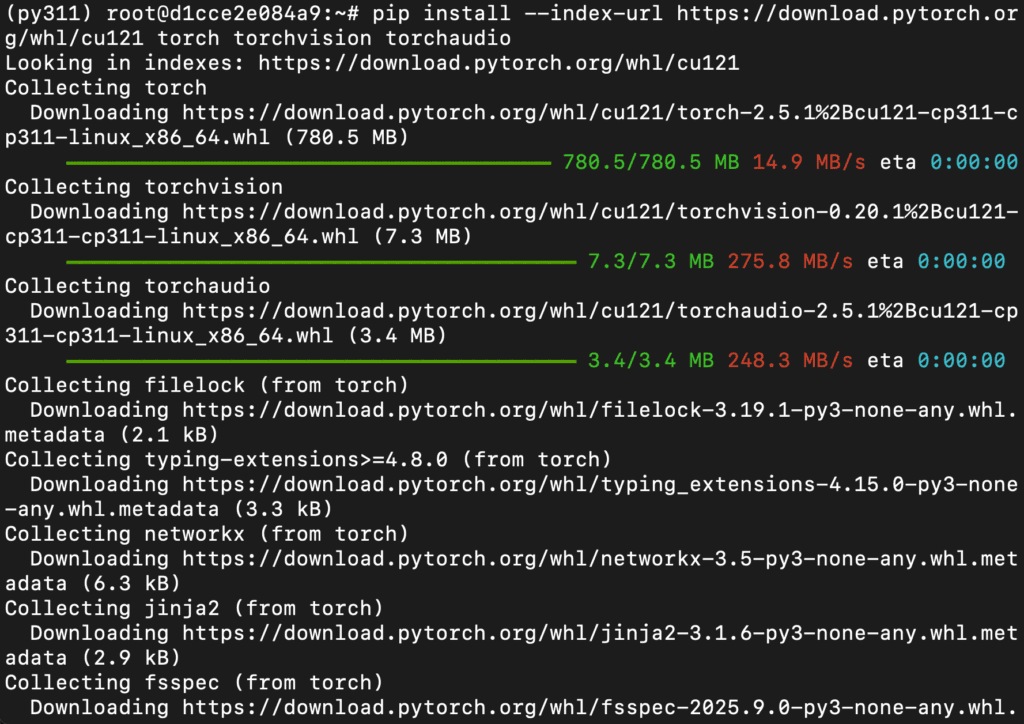
Run the following command to install PyTorch:
pip install --index-url https://download.pytorch.org/whl/cu121 torch torchvision torchaudio
Step 11: Install the Utilities
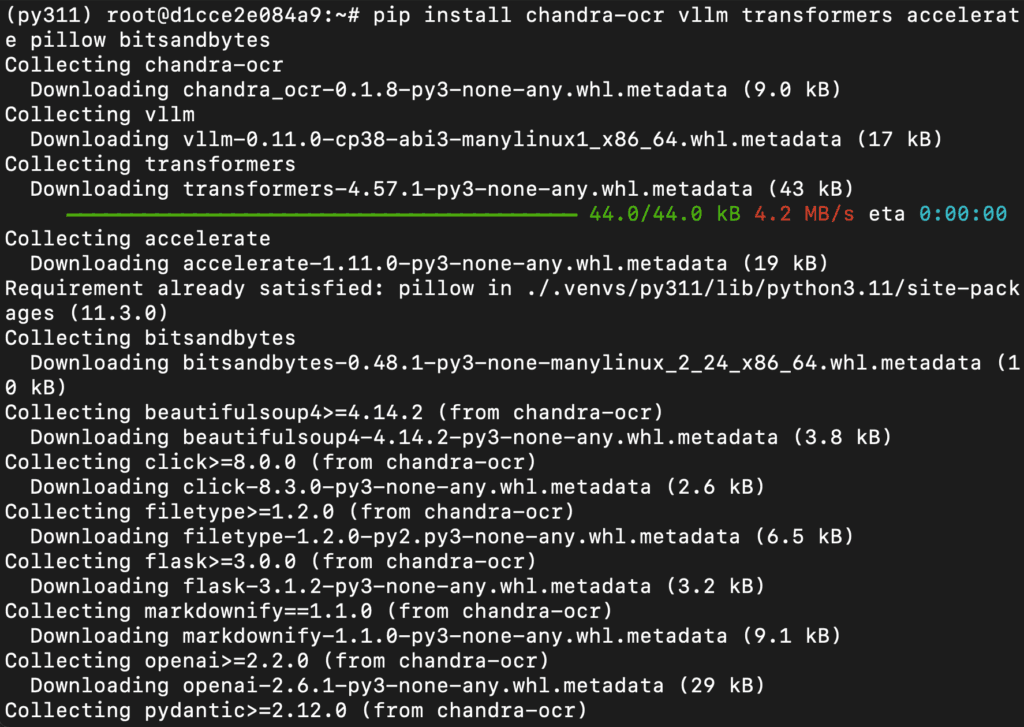
Run the following command to install utilities:
pip install chandra-ocr vllm transformers accelerate pillow bitsandbytes
Step 12: Connect to Your GPU VM with a Code Editor
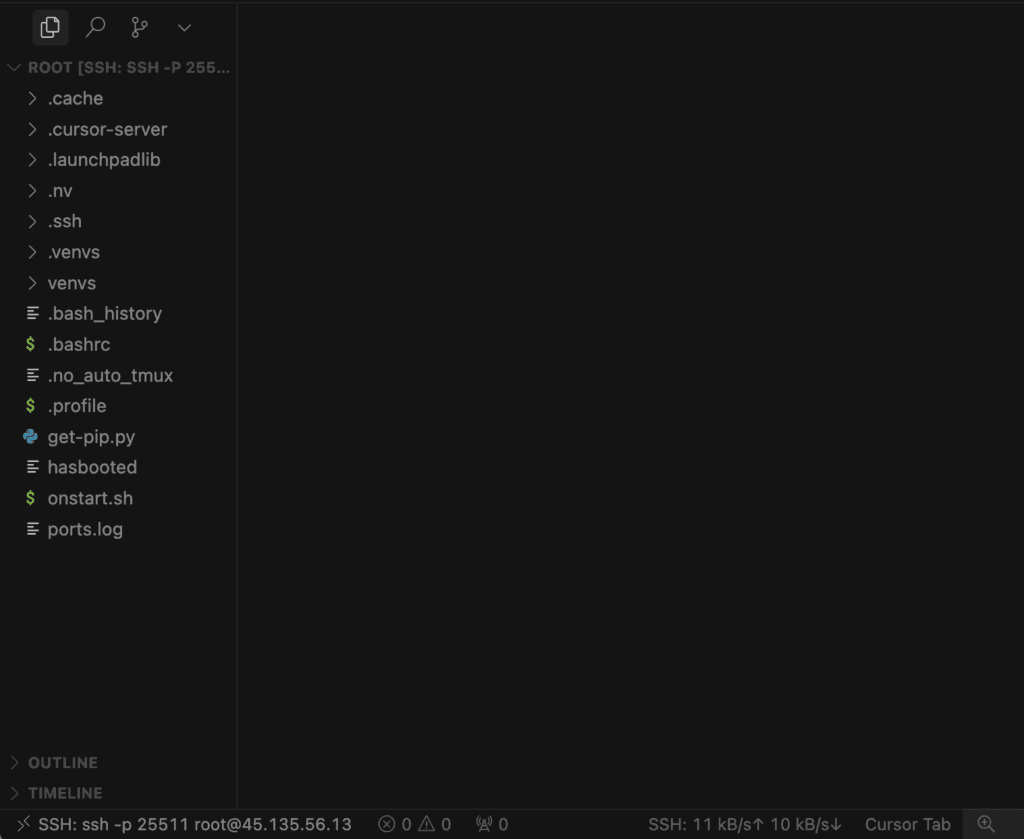
Before you start running model script with the Chandra-OCR model, it’s a good idea to connect your GPU virtual machine (VM) to a code editor of your choice. This makes writing, editing, and running code much easier.
- You can use popular editors like VS Code, Cursor, or any other IDE that supports SSH remote connections.
- In this example, we’re using cursor code editor.
- Once connected, you’ll be able to browse files, edit scripts, and run commands directly on your remote server, just like working locally.
Why do this?
Connecting your VM to a code editor gives you a powerful, streamlined workflow for Python development, allowing you to easily manage your code, install dependencies, and experiment with large models.
Step 13: Create the Script
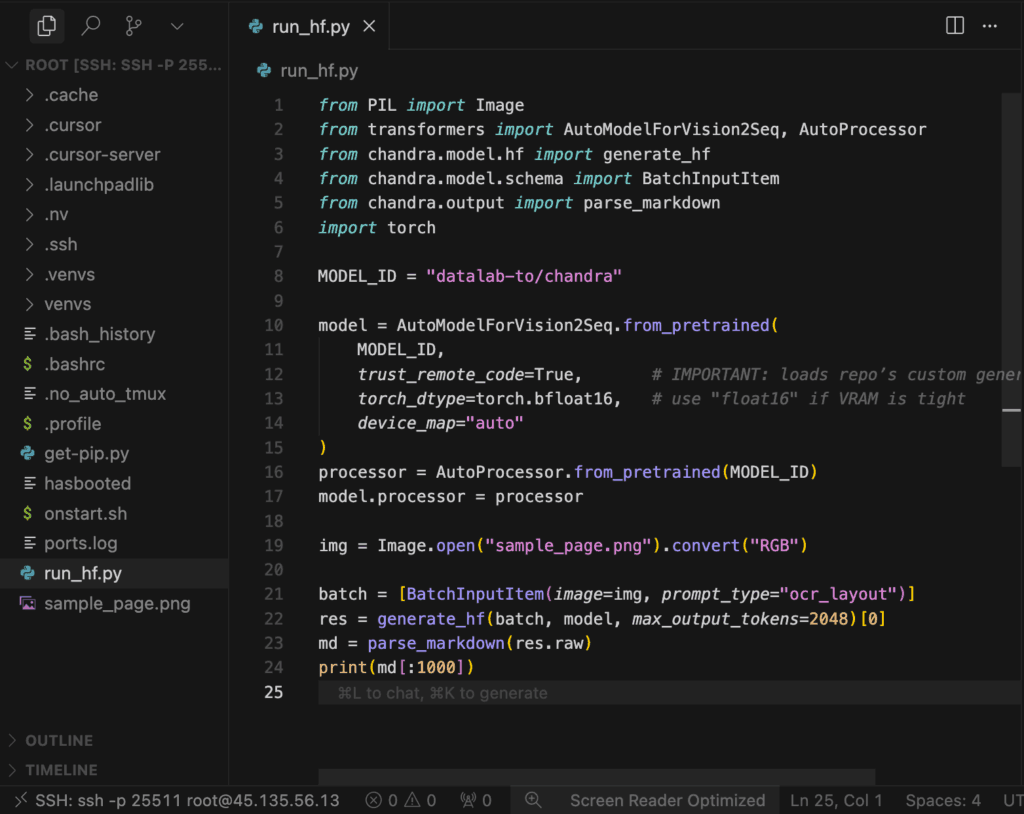
Create a file (ex: # run_hf.py) and add the following code:
from PIL import Image
from transformers import AutoModelForVision2Seq, AutoProcessor
from chandra.model.hf import generate_hf
from chandra.model.schema import BatchInputItem
from chandra.output import parse_markdown
import torch

MODEL_ID = "datalab-to/chandra"

model = AutoModelForVision2Seq.from_pretrained(
    MODEL_ID,
    trust_remote_code=True,       # IMPORTANT: loads repo’s custom generation code
    torch_dtype=torch.bfloat16,   # use "float16" if VRAM is tight
    device_map="auto"
)
processor = AutoProcessor.from_pretrained(MODEL_ID)
model.processor = processor

img = Image.open("sample_page.png").convert("RGB")

batch = [BatchInputItem(image=img, prompt_type="ocr_layout")]
res = generate_hf(batch, model, max_output_tokens=2048)[0]
md = parse_markdown(res.raw)
print(md[:1000])
What This Script Does
- Loads Chandra’s vision-to-text generation model (
AutoModelForVision2Seq) with trust_remote_code=True, using bfloat16 and auto GPU placement.
- Fetches the matching processor and attaches it to the model for proper preprocessing/postprocessing.
- Opens
sample_page.png, converts it to RGB, and wraps it as a BatchInputItem with the ocr_layout prompt.
- Runs Chandra via
generate_hf(...) to perform OCR + layout-aware text extraction and gets the raw output.
- Parses the raw output into Markdown and prints the first 1000 characters.
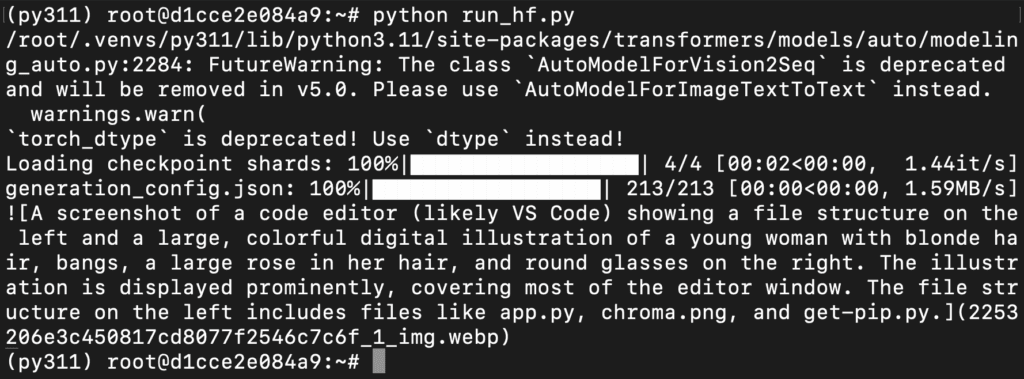
Step 14: Run the Script
Run the script from the following command:
python inference_bf16.py
This will load the model and generate the response on terminal.
Up to this point, we’ve successfully tested and run the Chandra OCR model using the Transformers method, which directly loads the model and processor into the Python environment for inference. This approach helps in understanding the internal working and ensures end-to-end control within a single script. Now, we’ll move to the second method — using vLLM, which allows faster inference, better memory utilization, and supports concurrent requests through an OpenAI-compatible API server, making it ideal for scalable deployments and integrations like Streamlit UIs or web APIs.
Step 15: Run vLLM Natively
You already have vllm installed. Start the server directly:
export VLLM_ATTENTION_BACKEND=TORCH_SDPA

python -m vllm.entrypoints.openai.api_server \
  --model datalab-to/chandra \
  --trust-remote-code \
  --dtype bfloat16 \
  --host 0.0.0.0 \
  --port 8000 \
  --served-model-name chandra \
  --max-model-len 32768 \
  --max-num-seqs 32 \
  --max-num-batched-tokens 65536 \
  --gpu-memory-utilization 0.9
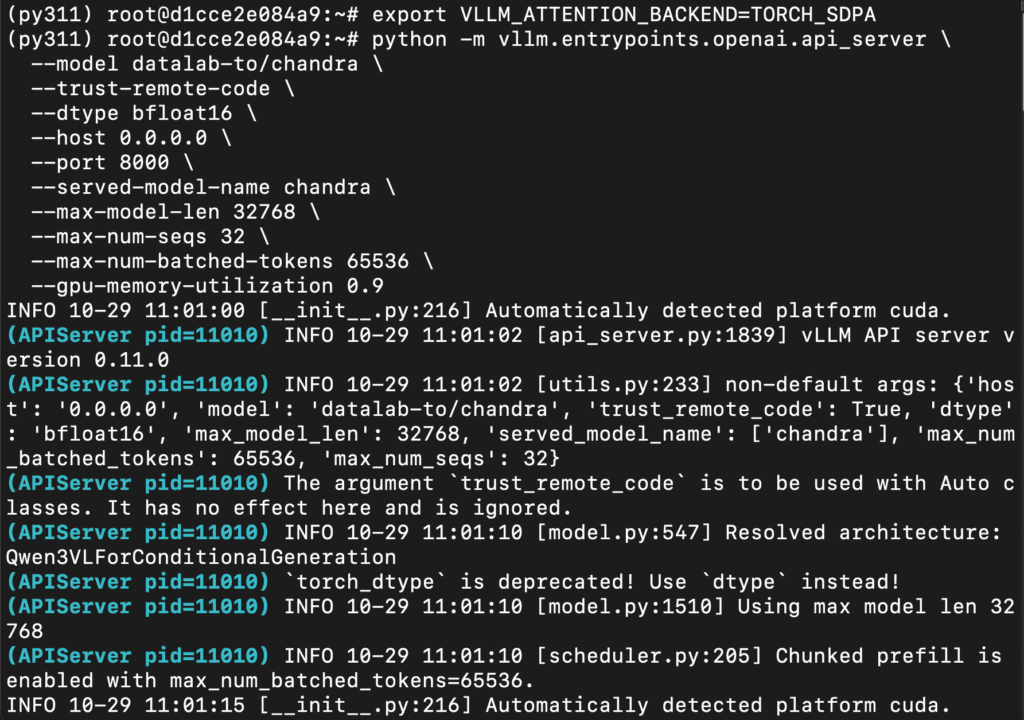
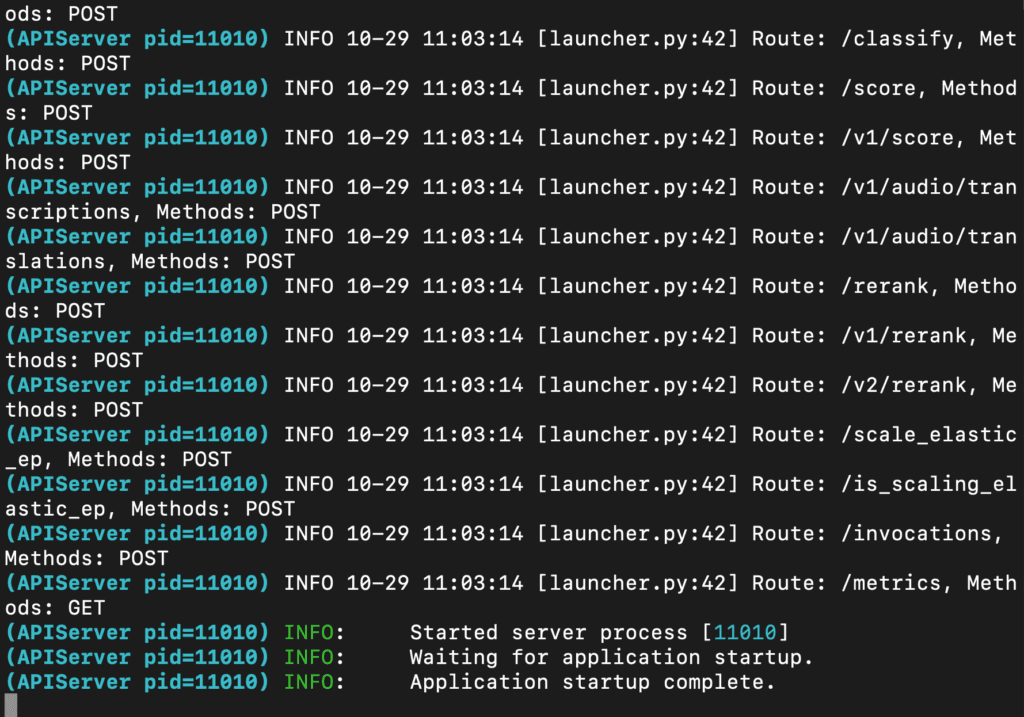
What This Command Does
- Sets vLLM to use Torch SDPA attention kernels for inference (
VLLM_ATTENTION_BACKEND=TORCH_SDPA).
- Launches an OpenAI-compatible API server (vLLM) that serves
datalab-to/chandra with repo-specific code (--trust-remote-code).
- Runs the model in bfloat16 on GPU, listening on 0.0.0.0:8000, exposed as model name
chandra.
- Configures capacity: 32K context (
--max-model-len 32768), up to 32 concurrent sequences, and 65,536 batched tokens.
- Tells vLLM to use up to 90% of GPU VRAM for the model/runtime (
--gpu-memory-utilization 0.9).
Step 16: Run the OCR
Run the command below to perform OCR on your PDF using the vLLM inference server you started earlier. This step sends the document to Chandra through the vLLM backend and saves the extracted outputs (Markdown, HTML, JSON) into the ./output folder.
chandra input.pdf ./output --method vllm
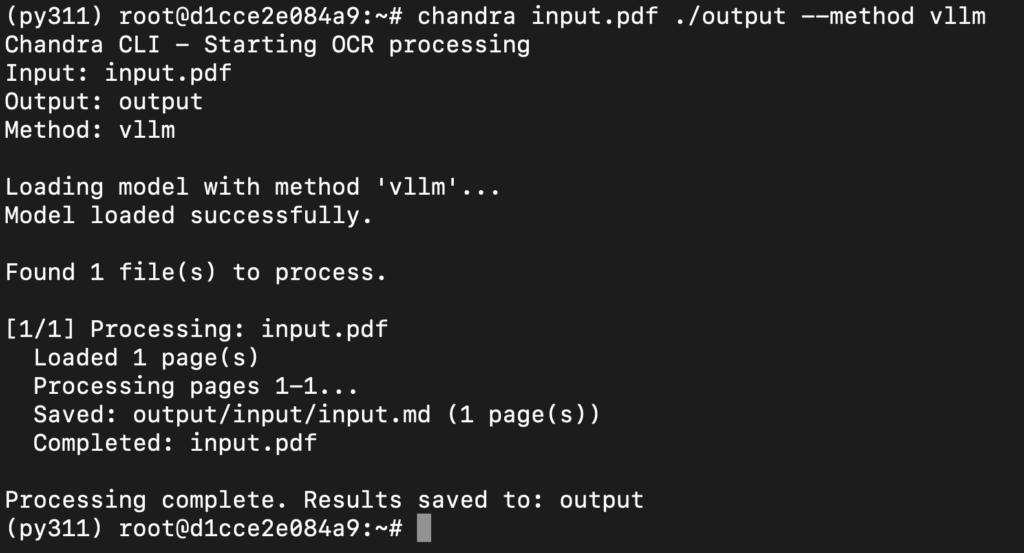
What This Command Does
- Sends
input.pdf to the locally running Chandra vLLM API (http://127.0.0.1:8000).
- Performs OCR + layout-aware text extraction for every page in the PDF.
- Saves the results into the
./output directory, including Markdown, HTML, JSON, and extracted images.
- Confirms that your vLLM setup and Chandra model are working end-to-end for document understanding.
Up to this point, we have successfully installed, configured, and tested the Chandra OCR model using both the Transformers and vLLM methods directly from the terminal. We’ve explored how to load the model locally for inference with Transformers and how to deploy it as an OpenAI-compatible API server using vLLM for faster, scalable document processing. Now, we’ll take it one step further and interact with the model visually through a Streamlit-based chat interface on the browser — allowing us to upload PDFs or images, view OCR results instantly, and experience Chandra’s full capabilities in a user-friendly web environment.
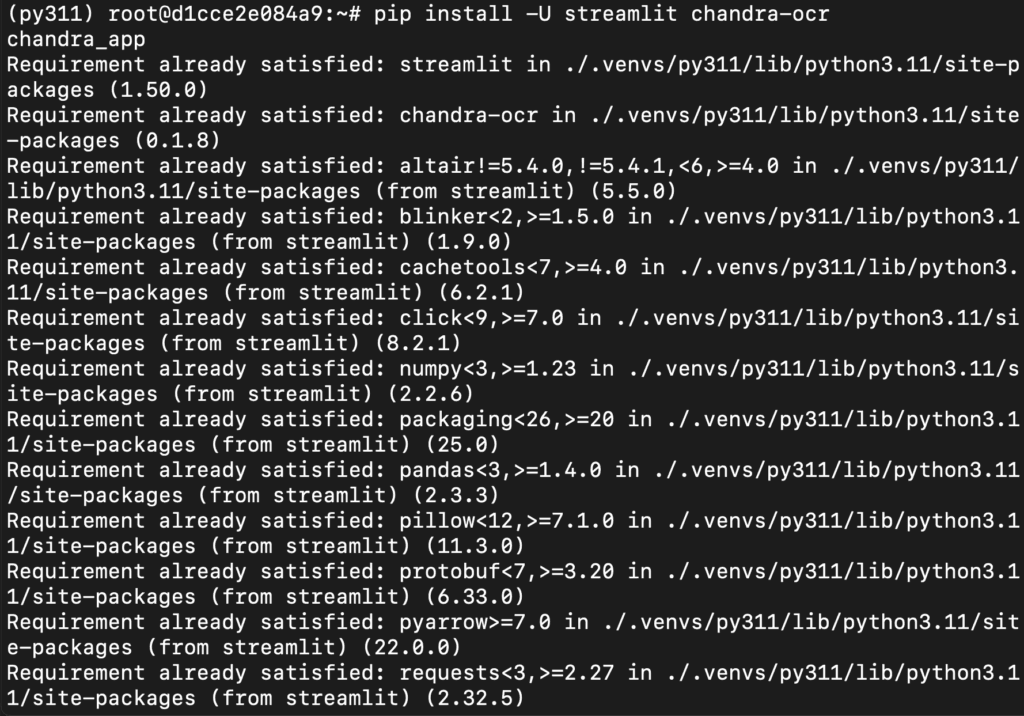
Step 17: Install Dependencies
Run the following command to install dependencies:
pip install -U streamlit chandra-ocr
Use the built-in demo:
chandra_app
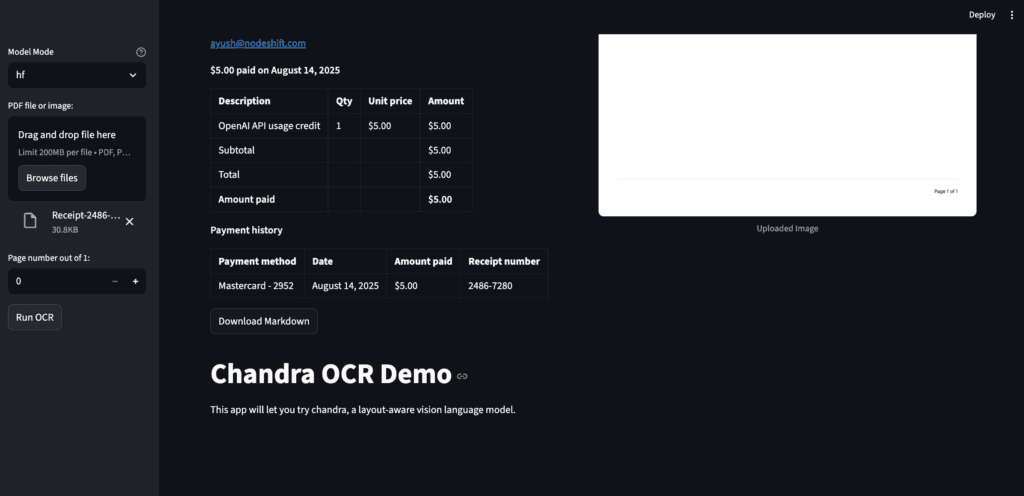
That launches Chandra’s interactive demo in your browser (shown in the terminal).
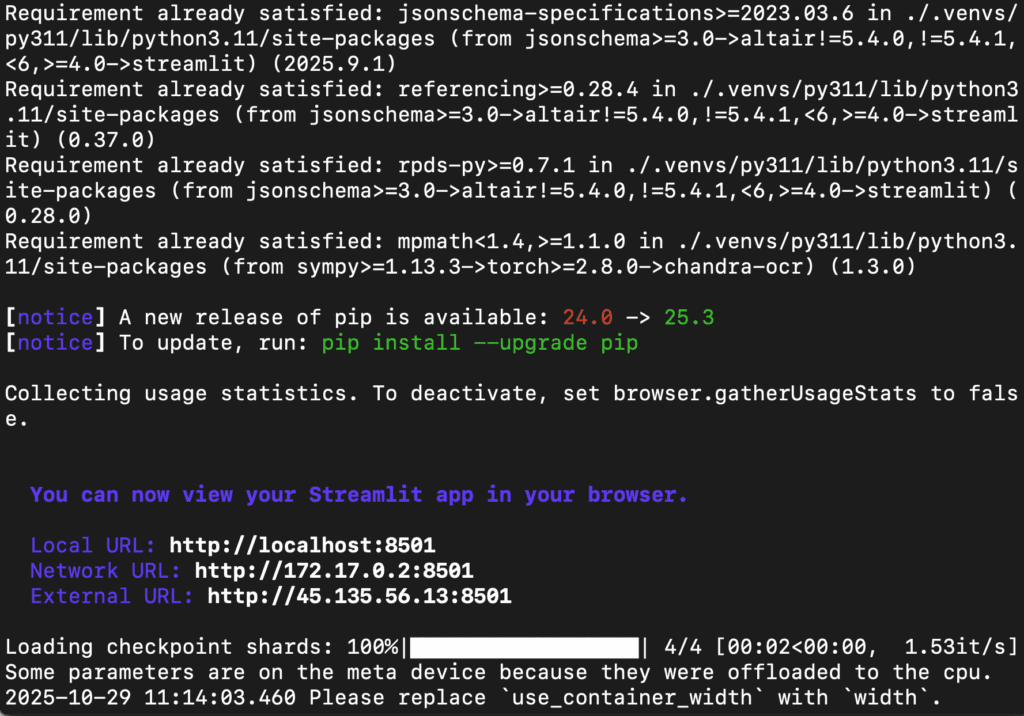
Step 18: Access the Streamlit App
Access the streamlit app on:
http://localhost:8501/
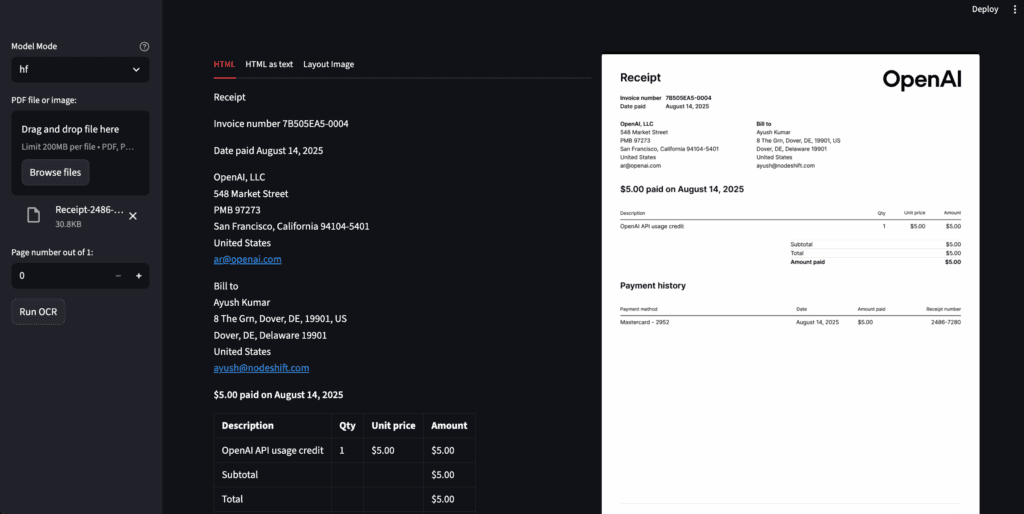
Conclusion
In this guide, we explored the complete end-to-end setup and execution of Chandra OCR, Datalab’s next-generation vision-language model for intelligent document understanding. Starting from creating a GPU-powered Virtual Machine on NodeShift Cloud, we installed Python, PyTorch, and all necessary dependencies to run Chandra locally using both Transformers and vLLM. Through the Transformers method, we achieved full control over the model and observed its OCR capabilities directly in the terminal, while the vLLM setup enabled faster, scalable inference through an API server. Finally, we enhanced usability with a Streamlit interface, allowing anyone to interact with Chandra visually on the browser — uploading PDFs, extracting structured text, and viewing real-time OCR outputs. With these three methods combined, you now have everything needed to deploy, test, and integrate Chandra OCR across diverse workflows — from research and automation to production-level document intelligence.


