Creating realistic, dynamic, and extended video content from simple text prompts has long been one of AI’s most ambitious goals, and LongCat-Video marks a major leap forward in that journey. With an impressive 13.6B parameters, this foundational video generation model unifies Text-to-Video, Image-to-Video, and Video-Continuation within a single, powerful architecture. Whether you want to bring a static image to life, extend existing footage seamlessly, or generate entirely new cinematic scenes from text, LongCat-Video handles it all with remarkable coherence and visual fidelity. Its native long video generation capabilities, pretrained on Video-Continuation tasks, allow it to produce minutes-long 720p, 30fps videos without the typical color drift or loss in quality seen in other models. Thanks to its coarse-to-fine generation and Block Sparse Attention, it achieves an optimal balance between performance and efficiency, making high-resolution video generation possible even on local setups.
In this guide, we’ll walk you through how to install and run LongCat-Video locally, so you can experience its capabilities and start generating professional-grade videos right from your machine.
Prerequisites
The minimum system requirements for running this model are:
Step-by-step process to install and run LongCat Video
For the purpose of this tutorial, we’ll use a GPU-powered Virtual Machine by NodeShift since it provides high compute Virtual Machines at a very affordable cost on a scale that meets GDPR, SOC2, and ISO27001 requirements. Also, it offers an intuitive and user-friendly interface, making it easier for beginners to get started with Cloud deployments. However, feel free to use any cloud provider of your choice and follow the same steps for the rest of the tutorial.
Step 1: Setting up a NodeShift Account
Visit app.nodeshift.com and create an account by filling in basic details, or continue signing up with your Google/GitHub account.
If you already have an account, login straight to your dashboard.

Step 2: Create a GPU Node
After accessing your account, you should see a dashboard (see image), now:
- Navigate to the menu on the left side.
- Click on the GPU Nodes option.

- Click on Start to start creating your very first GPU node.

These GPU nodes are GPU-powered virtual machines by NodeShift. These nodes are highly customizable and let you control different environmental configurations for GPUs ranging from H100s to A100s, CPUs, RAM, and storage, according to your needs.
Step 3: Selecting configuration for GPU (model, region, storage)
- For this tutorial, we’ll be using 1x H100 GPU, however, you can choose any GPU as per the prerequisites.
- Similarly, we’ll opt for 200GB storage by sliding the bar. You can also select the region where you want your GPU to reside from the available ones.

Step 4: Choose GPU Configuration and Authentication method
- After selecting your required configuration options, you’ll see the available GPU nodes in your region and according to (or very close to) your configuration. In our case, we’ll choose a 1x RTX A6000 48GB GPU node with 64vCPUs/63GB RAM/200GB SSD.

2. Next, you’ll need to select an authentication method. Two methods are available: Password and SSH Key. We recommend using SSH keys, as they are a more secure option. To create one, head over to our official documentation.

Step 5: Choose an Image
The final step is to choose an image for the VM, which in our case is Nvidia Cuda.

That’s it! You are now ready to deploy the node. Finalize the configuration summary, and if it looks good, click Create to deploy the node.


Step 6: Connect to active Compute Node using SSH
- As soon as you create the node, it will be deployed in a few seconds or a minute. Once deployed, you will see a status Running in green, meaning that our Compute node is ready to use!
- Once your GPU shows this status, navigate to the three dots on the right, click on Connect with SSH, and copy the SSH details that appear.

As you copy the details, follow the below steps to connect to the running GPU VM via SSH:
- Open your terminal, paste the SSH command, and run it.
2. In some cases, your terminal may take your consent before connecting. Enter ‘yes’.
3. A prompt will request a password. Type the SSH password, and you should be connected.
Output:

Next, If you want to check the GPU details, run the following command in the terminal:
!nvidia-smi
Step 7: Set up the project environment with dependencies
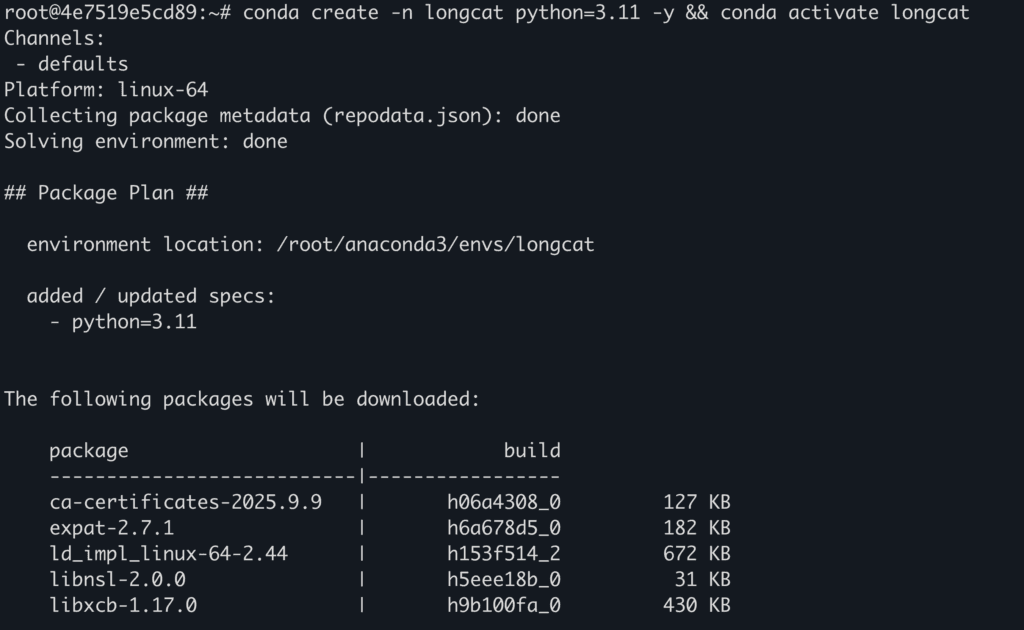
- Create a virtual environment using Anaconda.
conda create -n longcat python=3.11 -y && conda activate longcat
Output:
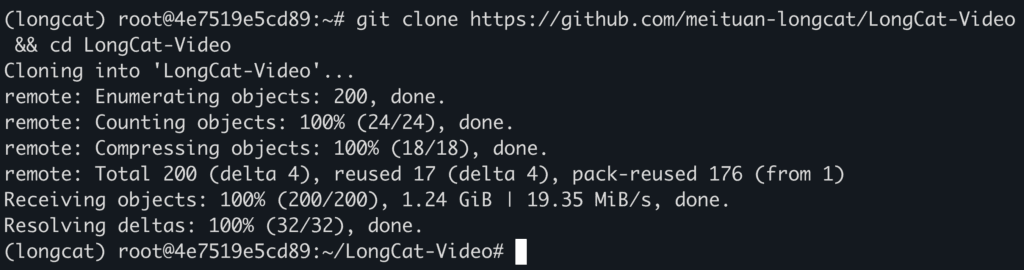
2. Clone the official repository.
git clone https://github.com/meituan-longcat/LongCat-Video && cd LongCat-Video
Output:
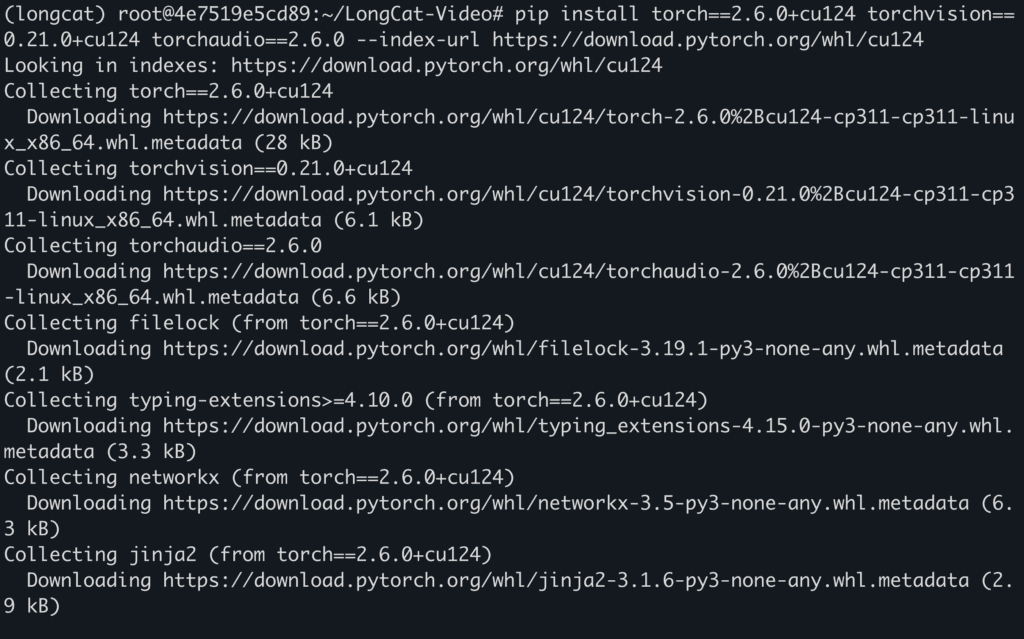
3. Install required dependencies.
pip install torch==2.6.0+cu124 torchvision==0.21.0+cu124 torchaudio==2.6.0 --index-url https://download.pytorch.org/whl/cu124

pip install ninja
pip install psutil
pip install packaging
pip install flash_attn==2.7.4.post1
pip install -r requirements.txt
pip install "huggingface_hub[cli]"
Output:
Step 8: Download and Run the model
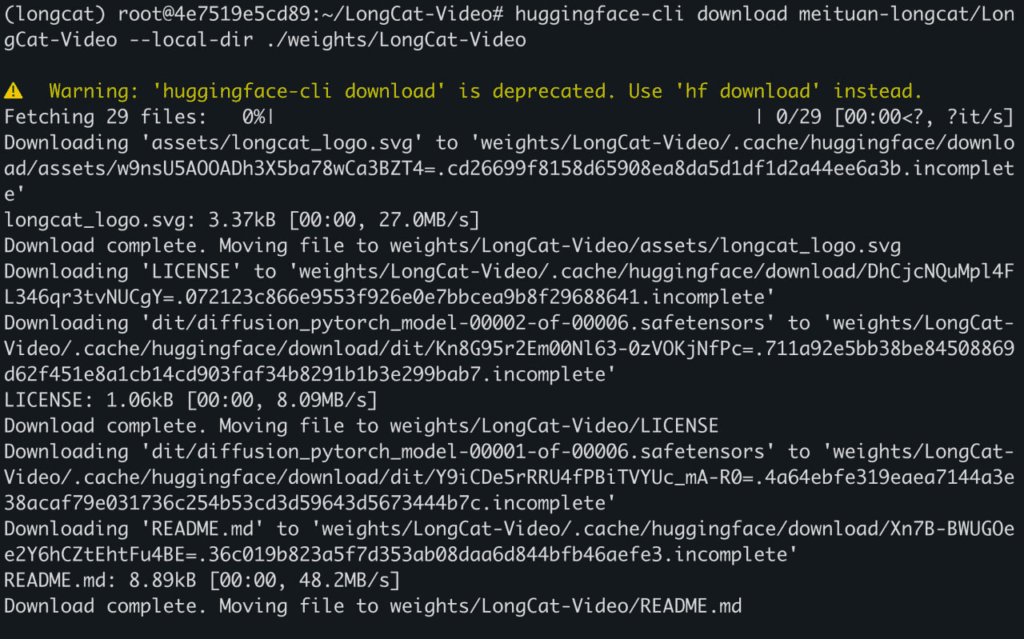
- Download model weights with this command.
huggingface-cli download meituan-longcat/LongCat-Video --local-dir ./weights/LongCat-Video
Output:
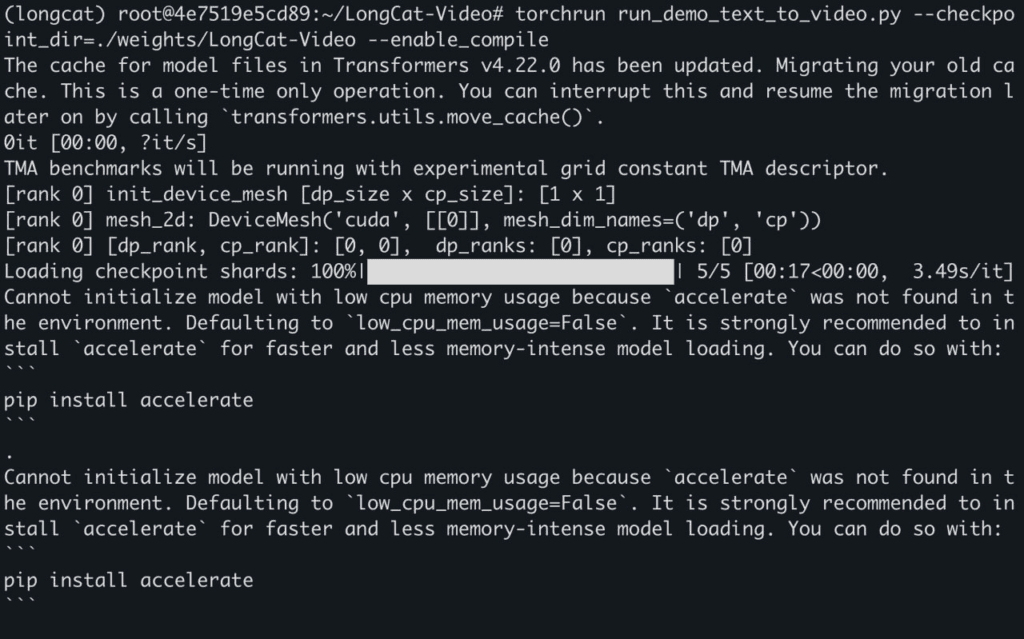
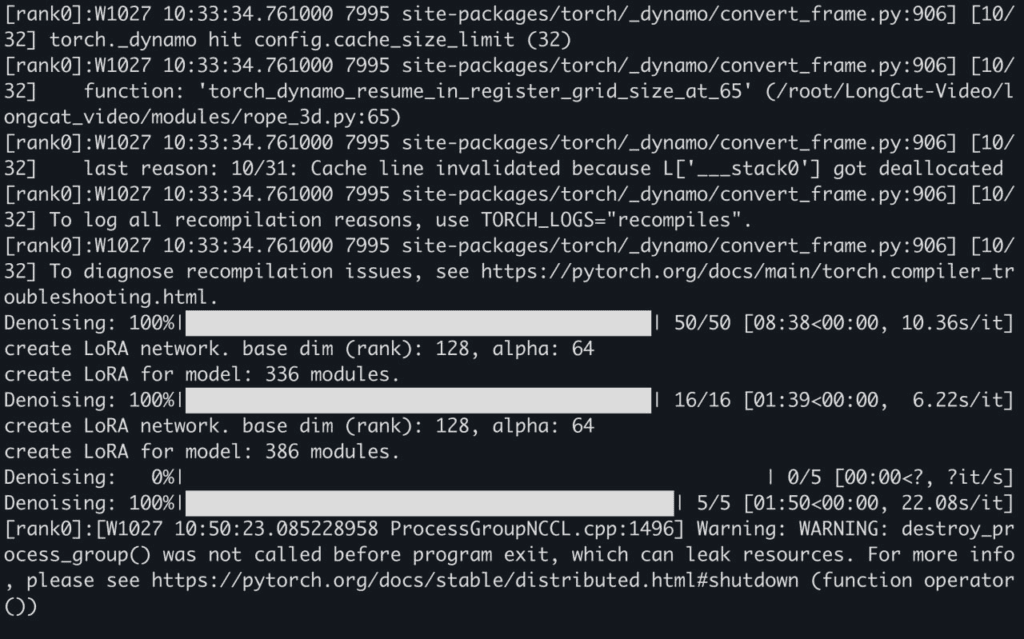
2. Run the model to generate video.
torchrun run_demo_text_to_video.py --checkpoint_dir=./weights/LongCat-Video --enable_compile
Output:
Here’s link to generated videos:
https://drive.google.com/drive/folders/1-ktc-ZbnHlMHu0xJVXBThdMO8LF4XbQA?usp=sharing
Conclusion
LongCat-Video sets a new standard in AI-driven video generation with its unified architecture, efficient inference pipeline, and ability to produce long, high-quality videos across Text-to-Video, Image-to-Video, and Video-Continuation tasks. Its 13.6B-parameter design and multi-reward RLHF training make it a robust foundation for next-generation creative and world modeling applications. With NodeShift Cloud, you can go beyond installation and experimentation, seamlessly deploy, fine-tune, and scale LongCat-Video in powerful cloud environments optimized for generative AI workloads. Whether you’re a researcher exploring temporal coherence or a creator pushing cinematic AI boundaries, NodeShift Cloud provides the compute, flexibility, and simplicity needed to bring LongCat-Video’s full potential to life.


