Bee-8-RL by Open-Bee isn’t just another open-source model, it’s a statement of what open multimodal intelligence can achieve when quality meets transparency. It is built upon the groundbreaking Bee-8B architecture, this 8-billion-parameter Multimodal Large Language Model (MLLM) redefines what’s possible for open models by leveraging the Honey-Data-15M corpus, a massive, high-quality dataset meticulously curated using the HoneyPipe framework. Every sample in this 15M dataset undergoes rigorous cleaning and dual-level Chain-of-Thought (CoT) enrichment, enabling Bee-8-RL to excel in complex reasoning, visual understanding, and multi-turn dialogue generation. The result is a model that rivals closed systems like InternVL3.5-8B, yet remains fully open and reproducible, empowering researchers, developers, and enterprises alike to harness advanced multimodal intelligence without the black-box limitations of proprietary models.
If you’re building AI copilots, reasoning agents, or research-grade multimodal applications, Bee-8-RL offers state-of-the-art accuracy, lightning-fast inference with vLLM, and the confidence of a completely open training stack. Let’s dive into how you can install and run Bee-8-RL locally.
Prerequisites
The minimum system requirements for running this model are:
- GPU: 1x RTX4090 or 1x RTX A6000 (depending on the use case scale)
- Storage: 20 GB (preferable)
- VRAM: at least 16 GB
- Anaconda installed
Step-by-step process to install and run Bee-8B-RL
For the purpose of this tutorial, we’ll use a GPU-powered Virtual Machine by NodeShift since it provides high compute Virtual Machines at a very affordable cost on a scale that meets GDPR, SOC2, and ISO27001 requirements. Also, it offers an intuitive and user-friendly interface, making it easier for beginners to get started with Cloud deployments. However, feel free to use any cloud provider of your choice and follow the same steps for the rest of the tutorial.
Step 1: Setting up a NodeShift Account
Visit app.nodeshift.com and create an account by filling in basic details, or continue signing up with your Google/GitHub account.
If you already have an account, login straight to your dashboard.

Step 2: Create a GPU Node
After accessing your account, you should see a dashboard (see image), now:
- Navigate to the menu on the left side.
- Click on the GPU Nodes option.

- Click on Start to start creating your very first GPU node.

These GPU nodes are GPU-powered virtual machines by NodeShift. These nodes are highly customizable and let you control different environmental configurations for GPUs ranging from H100s to A100s, CPUs, RAM, and storage, according to your needs.
Step 3: Selecting configuration for GPU (model, region, storage)
- For this tutorial, we’ll be using 1x RTX A6000 GPU, however, you can choose any GPU as per the prerequisites.
- Similarly, we’ll opt for 200GB storage by sliding the bar. You can also select the region where you want your GPU to reside from the available ones.

Step 4: Choose GPU Configuration and Authentication method
- After selecting your required configuration options, you’ll see the available GPU nodes in your region and according to (or very close to) your configuration. In our case, we’ll choose a 1x RTX A6000 48GB GPU node with 64vCPUs/63GB RAM/200GB SSD.

2. Next, you’ll need to select an authentication method. Two methods are available: Password and SSH Key. We recommend using SSH keys, as they are a more secure option. To create one, head over to our official documentation.

Step 5: Choose an Image
The final step is to choose an image for the VM, which in our case is Nvidia Cuda.

We will switch to the Custom Image tab and select a specific Docker image that meets all runtime and compatibility requirements.
We choose the following image:
nvidia/cuda:12.1.1-devel-ubuntu22.04
This image is essential because it includes:
- Full CUDA toolkit (including
nvcc)
- Proper support for building and running GPU-based applications
- Compatibility with CUDA 12.1.1 required by certain model operations
Launch Mode
We selected:
Interactive shell server
This gives us SSH access and full control over terminal operations — perfect for installing dependencies, running benchmarks, and launching models.

Docker Repository Authentication
We left all fields empty here.
Since the Docker image is publicly available on Docker Hub, no login credentials are required.
Identification
nvidia/cuda:12.1.1-devel-ubuntu22.04

That’s it! You are now ready to deploy the node. Finalize the configuration summary, and if it looks good, click Create to deploy the node.


Step 6: Connect to active Compute Node using SSH
- As soon as you create the node, it will be deployed in a few seconds or a minute. Once deployed, you will see a status Running in green, meaning that our Compute node is ready to use!
- Once your GPU shows this status, navigate to the three dots on the right, click on Connect with SSH, and copy the SSH details that appear.

As you copy the details, follow the below steps to connect to the running GPU VM via SSH:
- Open your terminal, paste the SSH command, and run it.
2. In some cases, your terminal may take your consent before connecting. Enter ‘yes’.
3. A prompt will request a password. Type the SSH password, and you should be connected.
Output:

Next, If you want to check the GPU details, run the following command in the terminal:
!nvidia-smi
Step 7: Set up the project environment with dependencies
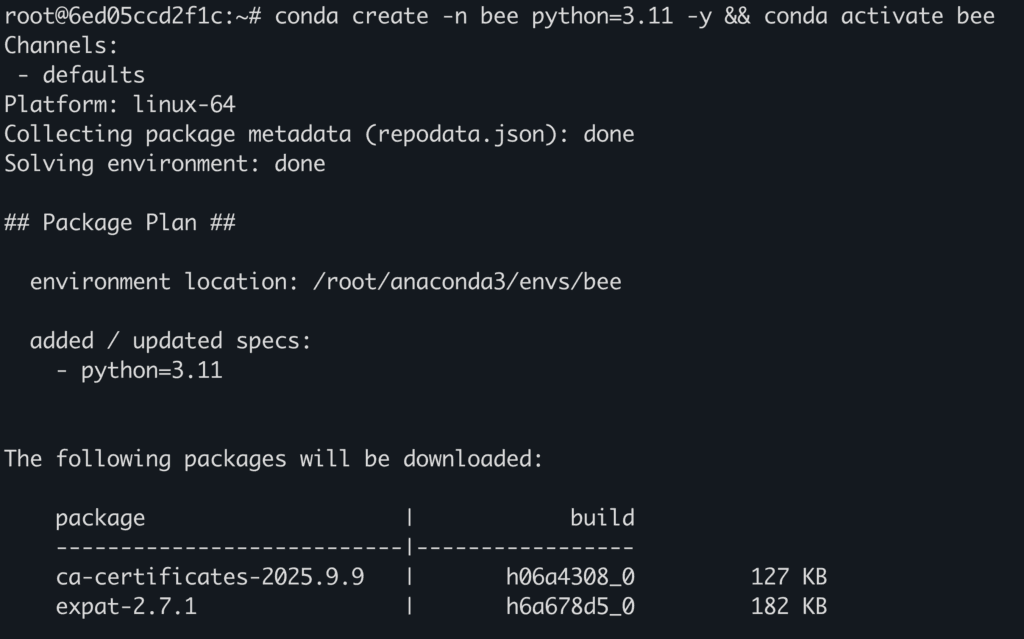
- Create a virtual environment using Anaconda.
conda create -n bee python=3.11 -y && conda activate beee
Output:
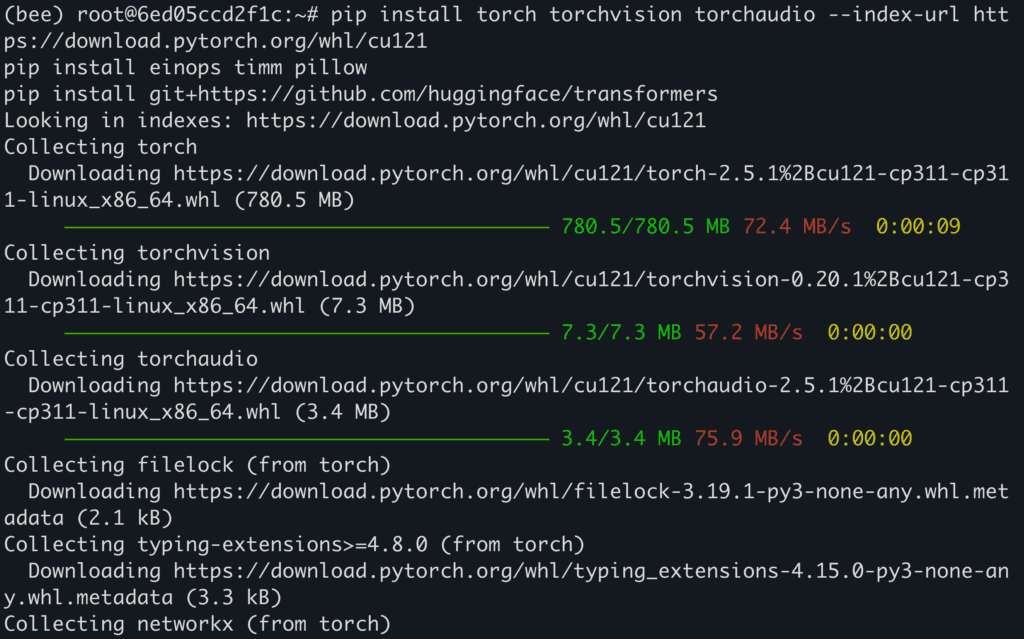
2. Install required dependencies.
pip install torch torchvision torchaudio --index-url https://download.pytorch.org/whl/cu121
pip install einops timm pillow
pip install git+https://github.com/huggingface/transformers
Output:
3. Install and run jupyter notebook.
conda install -c conda-forge --override-channels ipykernel==6.30.1
conda install -c conda-forge --override-channels notebook -y
conda install -c conda-forge --override-channels ipywidgets -y
jupyter notebook --allow-root
4. If you’re on a remote machine (e.g., NodeShift GPU), you’ll need to do SSH port forwarding in order to access the jupyter notebook session on your local browser.
Run the following command in your local terminal after replacing:
<YOUR_SERVER_PORT> with the PORT allotted to your remote server (For the NodeShift server – you can find it in the deployed GPU details on the dashboard).
<PATH_TO_SSH_KEY> with the path to the location where your SSH key is stored.
<YOUR_SERVER_IP> with the IP address of your remote server.
ssh -L 8888:localhost:8888 -p <YOUR_SERVER_PORT> -i <PATH_TO_SSH_KEY> root@<YOUR_SERVER_IP>
Output:

After this copy the URL you received in your remote server:

And paste this on your local browser to access the Jupyter Notebook session.
Step 8: Download and Run the model
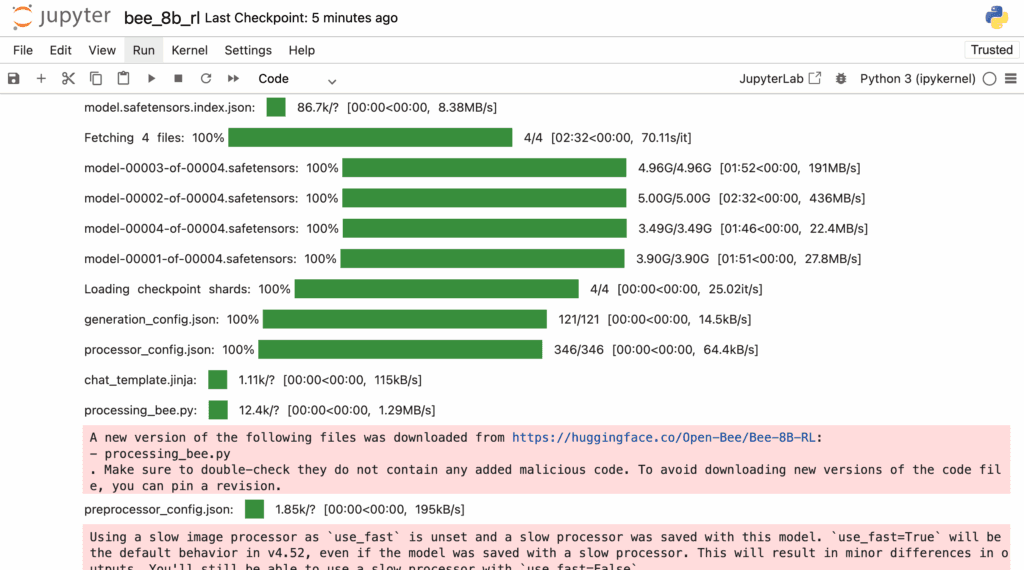
- Download model checkpoints.
import requests
import torch
from PIL import Image
from transformers import AutoModel, AutoProcessor

model_path = "Open-Bee/Bee-8B-RL"

# Load model
model = AutoModel.from_pretrained(
    model_path,
    torch_dtype=torch.bfloat16,
    trust_remote_code=True,
).to("cuda")

# Load processor
processor = AutoProcessor.from_pretrained(model_path, trust_remote_code=True)
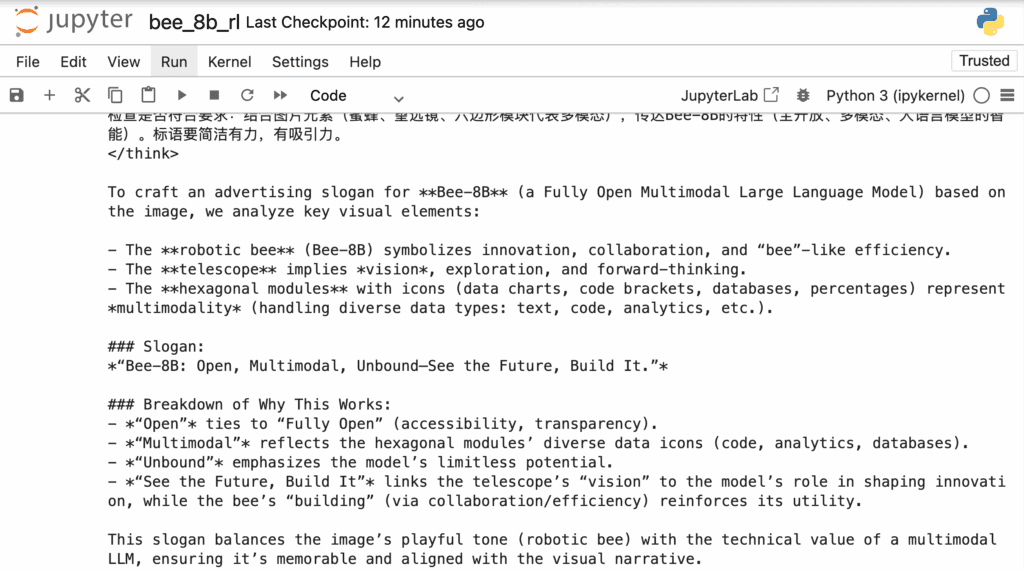
2. Run the model for inference.
# Define conversation messages
messages = [{
    "role":
    "user",
    "content": [
        {
            "type": "image",
            "image": "https://huggingface.co/Open-Bee/Bee-8B-RL/resolve/main/assets/logo.png",
        },
        {
            "type": "text",
            "text": "Based on this picture, write an advertising slogan about Bee-8B (a Fully Open Multimodal Large Language Model)."
        },
    ],
}]

# Apply chat template
text = processor.apply_chat_template(messages,
                                     tokenize=False,
                                     add_generation_prompt=True,
                                     enable_thinking=True)

# Load image
image_url = "https://huggingface.co/Open-Bee/Bee-8B-RL/resolve/main/assets/logo.png"
image = Image.open(requests.get(image_url, stream=True).raw)

# Process inputs
inputs = processor(images=image, text=text, return_tensors="pt").to("cuda")

# Generate output
generated_ids = model.generate(**inputs, max_new_tokens=16384, temperature=0.6)
output_ids = generated_ids[0][len(inputs.input_ids[0]):]

# Decode output
output_text = processor.decode(output_ids, skip_special_tokens=True)

# Print result
print(output_text)
Output:
Conclusion
Bee-8-RL is an open-source multimodal AI, combining the power of the Bee-8B architecture, the Honey-Data-15M corpus, and the HoneyPipe curation framework to deliver state-of-the-art reasoning and visual understanding, all without proprietary barriers. Its seamless integration with tools like vLLM makes it ideal for real-world, high-performance AI workflows. Through this guide, we explored how to install and run Bee-8-RL locally, unlocking its full potential for developers, researchers, and AI enthusiasts. NodeShift Cloud amplifies this accessibility by providing an optimized environment to deploy, test, and scale models like Bee-8-RL effortlessly, ensuring that cutting-edge open AI innovation is just a few commands away from your local machine.
